How to Overclock Your Intel CPU: An Enthusiast’s Guide


Overclocking an Intel processor lets you run the chip faster than the factory setting to squeeze a bit more performance from your system. When done correctly, it can smooth out frame rates and speed up applications without spending money on new hardware. I’ve overclocked everything from Pentium IV chips to modern Core i9 parts, and I’ve learned that the process is more about preparation and patience than chasing unrealistic numbers.
In this guide, I explain how to overclock your Intel CPU chips safely, from the basics through the core steps, and finishing with a few tips on balancing heat and noise.
Jump to:
Understanding Intel CPU Overclocking
Before diving into settings, I’ll try to help you understand what overclocking actually does. A processor’s speed comes from two numbers: the base clock (usually 100 MHz) and a multiplier. When multiplied together, they produce the operating frequency. For example, a 100 MHz base clock and a multiplier of 44 result in 4.4 GHz.
Overclocking increases the multiplier and sometimes the base clock, so the chip runs at a higher frequency. A faster clock lets the CPU process instructions more quickly, which translates into higher frame rates in games and shorter rendering times in creative applications.
Not every Intel processor can be tuned. Most chips have locked multipliers, but those with K, KF, or KS suffixes allow multiplier adjustments. You also need a motherboard with a Z‑series chipset; boards with H‑ or B‑series chipsets hide or limit overclocking controls. Before attempting anything, check that your CPU and board support these features.
Overclocking adds stress on the processor and surrounding components. Higher frequencies usually require higher core voltage (known as Vcore) to remain stable, and additional voltage creates more heat. Modern CPUs include protection mechanisms that throttle speed or shut down if temperatures become unsafe, but running at elevated temperatures for long periods can shorten component lifespan. Variation between chips also plays a role.
Two identical CPUs may overclock to different levels because of manufacturing differences, a phenomenon called the silicon lottery. For this reason, never copy someone else’s settings blindly. Use them as a reference, but always test your own hardware.
Finally, remember that pushing your processor beyond its rated specifications may affect your warranty. Some manufacturers allow limited tuning, while others consider any overclock a breach of terms. With that in mind, let’s prepare your system for success.
Preparing Your System for Overclocking
Preparing your PC ensures that your new speeds don’t lead to crashes or heat damage. Focus on four essentials:
- make sure your CPU is unlocked and paired with a Z‑series motherboard,
- update your BIOS and drivers,
- verify that your cooling and power supply are up to the task, and
- establish a baseline of stock performance.
A quick benchmark and stress test at stock settings tells you how hot the CPU gets and how high the voltage is. Finally, decide what temperatures and voltages you’re comfortable with and create a system restore point. These preparatory steps may feel tedious, but they prevent headaches later.
Tools and Software You’ll Need
You don’t need dozens of utilities to overclock successfully. A short list does the job:
- Use your motherboard’s BIOS or UEFI to change multipliers and voltages.
- Install Intel’s Extreme Tuning Utility (XTU) if you prefer to adjust settings from Windows.
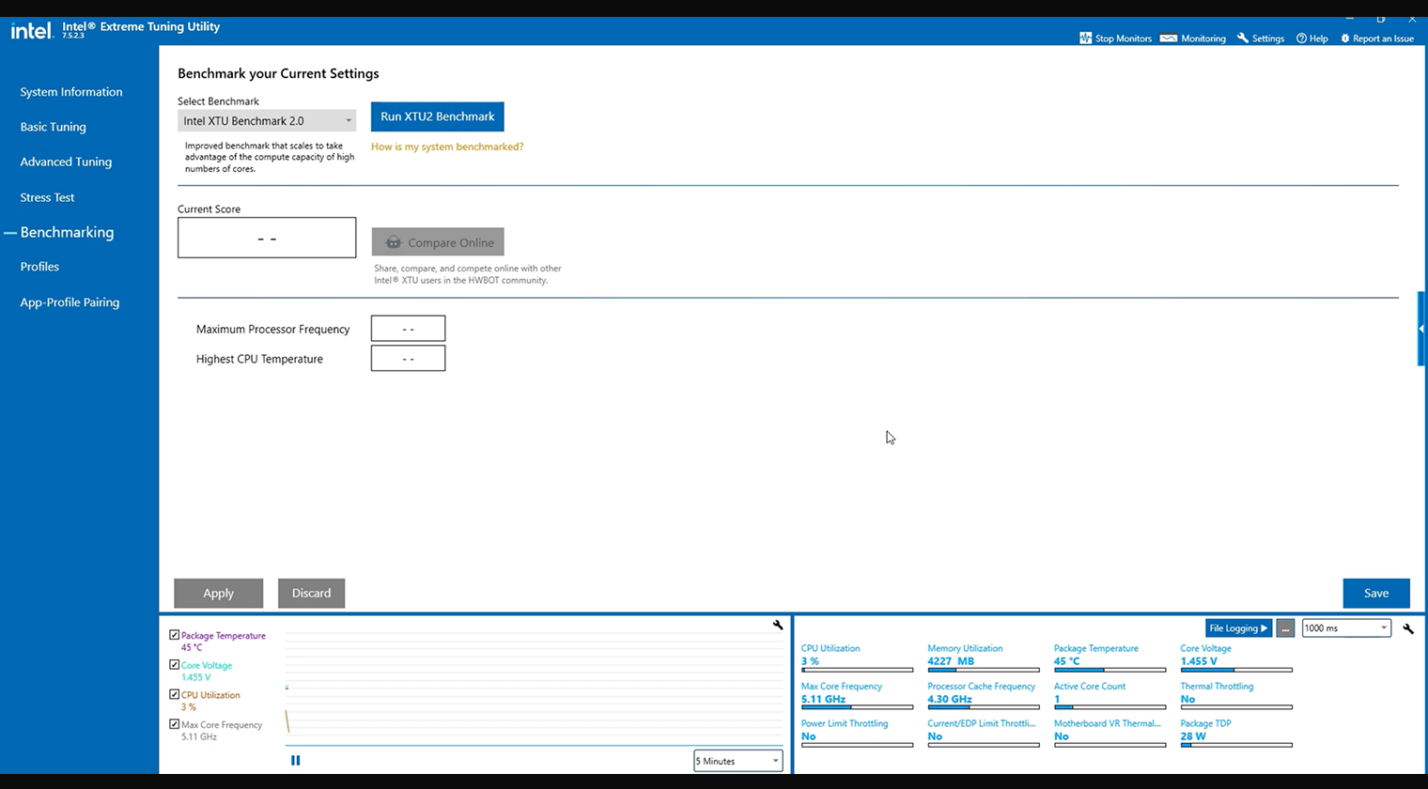
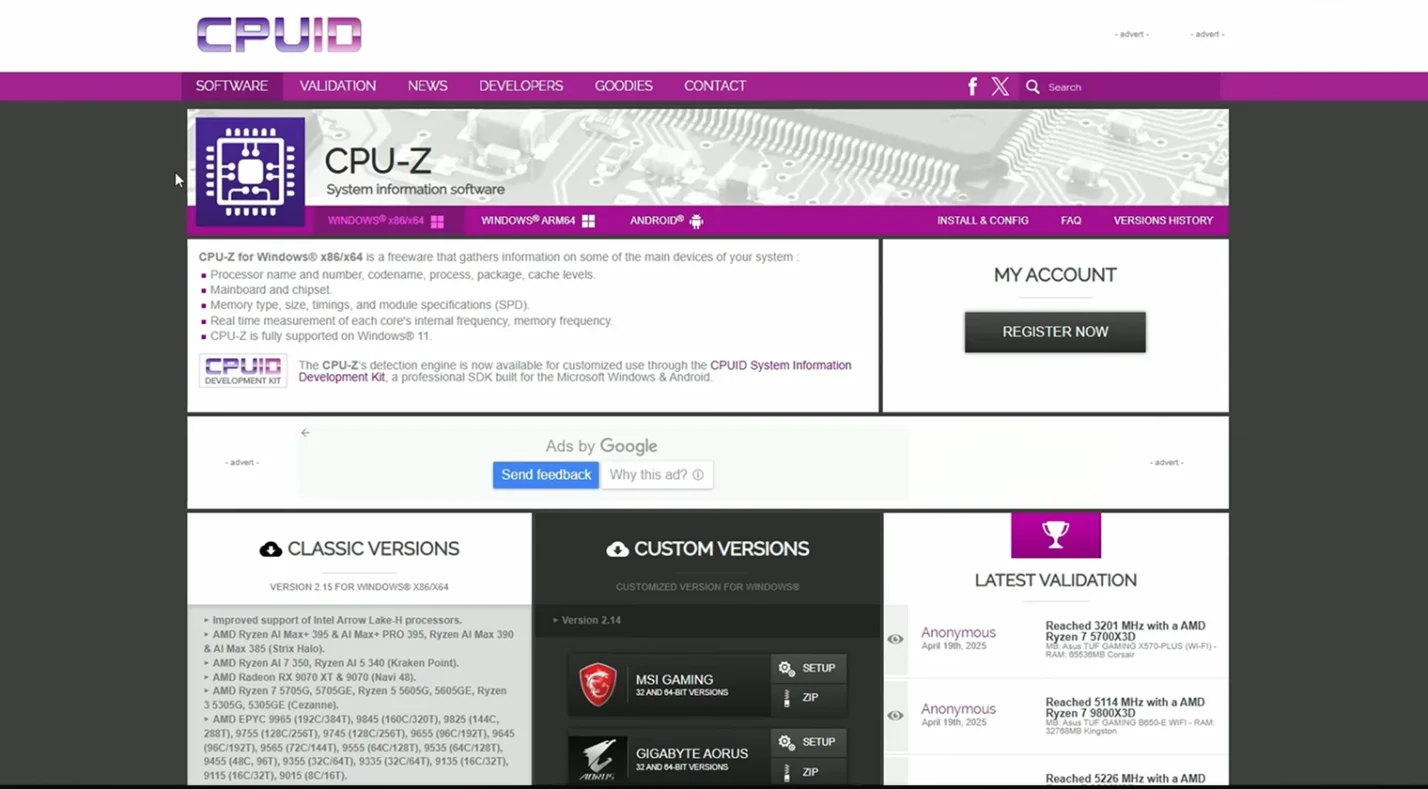
- Download a monitoring tool such as CPU‑Z or HWiNFO to verify clock speeds and temperatures.
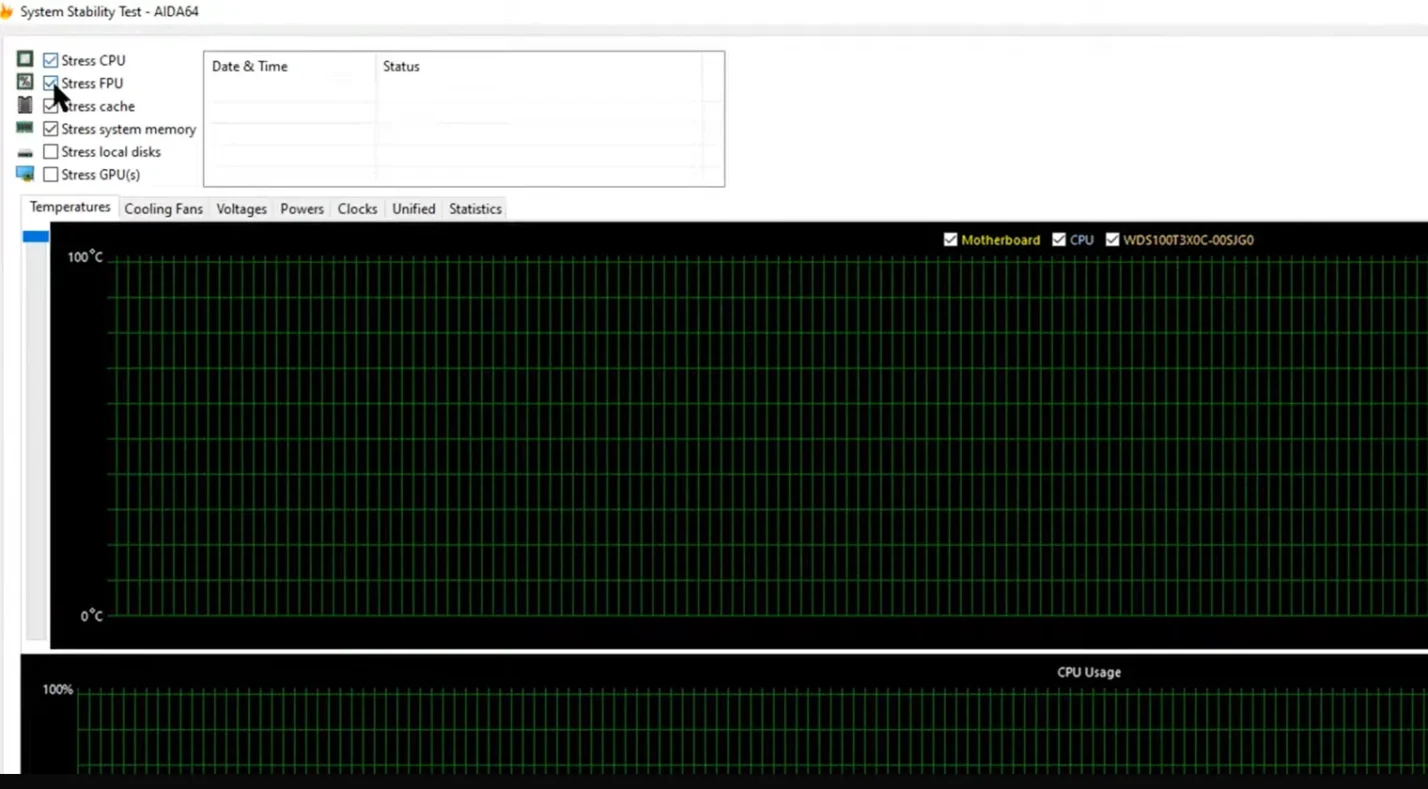
For stress testing, Prime95 or AIDA64 will push the CPU hard enough to reveal instability. Avoid random “tuning” programs from untrusted sites. Stick to official downloads to keep your system safe.
How to Overclock Your Intel CPU: Step‑by‑Step Guide
Now that your system is ready and you have the necessary tools, follow this structured process to overclock safely. The steps are deliberately gradual, allowing you to find a stable configuration without risking damage.
Step 1 – Establish a Baseline
Start by measuring your CPU’s stock performance. Run a benchmark such as Cinebench and a short stress test to record temperatures, clock speeds, and voltages. If the processor runs hot at default settings, clean your case and improve airflow before overclocking. Establishing a baseline tells you whether your later adjustments actually provide gains.
Step 2 – Enter the BIOS or Launch XTU
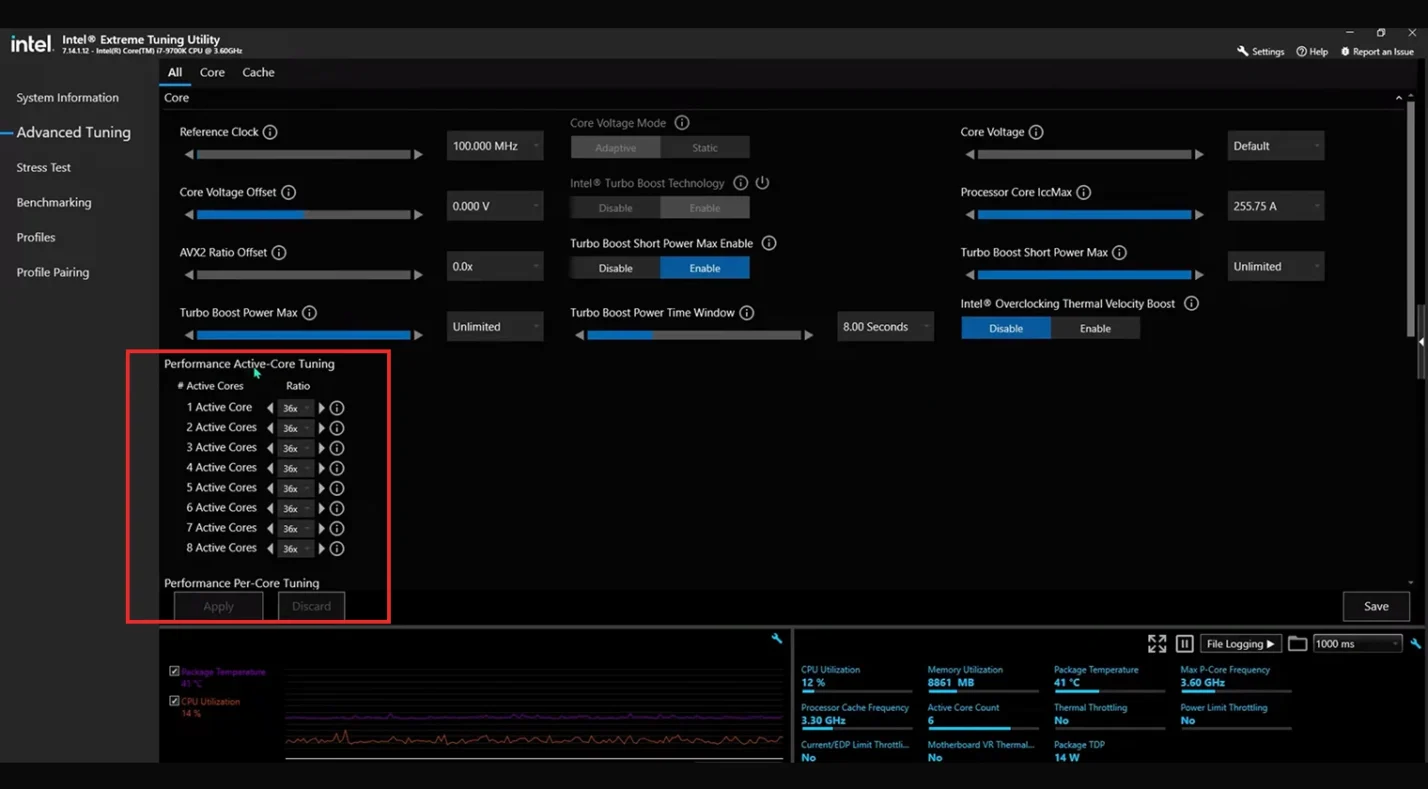
Restart your PC and enter the BIOS using the correct key, or open Intel XTU. Locate the CPU multiplier setting, sometimes called CPU Ratio or Core Multiplier. Most BIOS setups group overclocking options under an advanced or performance tab. XTU presents these controls as sliders.
Step 3 – Increase the Multiplier
Raise the CPU multiplier in small increments, one or two steps at a time. Each step typically adds around 100 MHz. After each change, save the settings and reboot, then run a quick stress test or play a game for a few minutes. If the system is stable, you can repeat the process. Patience is critical because overshooting by several steps may cause crashes.
Step 4 – Test Stability and Monitor Heat
After each increase, run a stress test for at least 15 minutes while watching temperatures. If the CPU crashes, throttles, or gets too hot, back off to the last stable multiplier or improve cooling. Aiming to keep sustained temperatures below about 85 °C helps protect your hardware.
Step 5 – Adjust Voltage (Optional)
If you reach a multiplier that is unstable, a small voltage bump can help. Increase Vcore in very small steps and test each time. Avoid exceeding about 1.35 V on air or liquid cooling. More voltage means more heat, so balance any gains with safe temperatures. Some advanced users lower voltage slightly once they find a stable clock to reduce noise and heat, but that requires additional testing.
Step 6 – Combine and Refine
After finding the highest stable multiplier and a safe voltage, combine them and perform a longer test. Run your stress test for an hour or two and play a few games. If instability appears during prolonged use, reduce the multiplier by one step or lower the voltage slightly. Advanced techniques like per‑core tuning or base clock adjustments exist, but they aren’t necessary for most users and can introduce complexity.
Step 7 – Save Your Settings
Once you have a stable configuration, save it. Many BIOS interfaces and tuning utilities allow multiple profiles, which makes it easy to switch between a conservative everyday profile and a more aggressive one for demanding tasks. Keeping notes of your final settings helps you restore them later.
Balancing Performance, Heat, and Noise
Overclocking is always a balancing act. Higher speeds mean more heat, which in turn means more fan noise. Adjust your fan curves so that fans spin faster only when temperatures rise, and keep cables tidy to maximise airflow.
If your CPU still runs hot, consider a better cooler. In many cases, dropping the multiplier by one step can dramatically reduce heat and noise without making a noticeable difference in performance.
Common Mistakes and Troubleshooting
New overclockers often stumble over the same problems. Avoid these pitfalls: skipping a baseline benchmark, raising voltage too fast, ignoring cooling, or adjusting multiple settings at once. Because each chip behaves differently, don’t copy someone else’s numbers blindly.
Expect a modest performance increase of around 10%, and be prepared to upgrade if that isn’t enough. If instability appears, lower the multiplier or voltage and work backward until stability returns.
When to Overclock and When to Upgrade
Overclocking is a great way to extend the life of a good processor when you need a small boost. It works best when your system is already close to meeting your needs.
If you’re still well short of your target frame rate or your CPU is many generations old, no amount of tuning will turn it into a flagship. At that point, upgrading makes more sense. Laptop overclocking is rarely worth it, because mobile CPUs run hot and have limited cooling.
Wrapping Up and Enjoying the Gains
Learning how to overclock an Intel CPU is both an art and a science. Start by confirming your hardware supports overclocking, prepare your system with updated firmware and robust cooling, and establish a baseline to measure improvements.
Increase the CPU multiplier in small steps, test for stability after each change, and adjust voltage only when necessary. Balance your desire for higher clocks with the realities of heat and noise, and remember that each chip is unique. Accept modest gains and know when upgrading is the wiser path.
Once you’ve dialed in a stable overclock, put your newfound performance to use. Open‑world games and CPU‑heavy simulations are great tests of your improved hardware. Rather than recommending a specific title, I suggest adding funds to your gaming library so you can choose what excites you most. Our Steam Wallet Gift Card is an easy way to top up your Steam balance and pick up a new game or two. With your tuned processor delivering smooth frame rates, you’ll enjoy every purchase even more.
FAQs
How do I overclock my Intel CPU step-by-step?
To overclock your Intel CPU step by step, enter the BIOS or use Intel’s tuning utility, raise the CPU multiplier by small increments, test stability after each change, and adjust voltage only if needed. Combine your stable multiplier and voltage, run tests, then save your settings as a profile.
Is it safe to overclock an Intel CPU?
Yes, it is safe to overclock an Intel CPU if you stay within reasonable voltage and temperature limits, increase settings gradually, and monitor stability. Using good cooling and reputable software minimises risks.
Does overclocking an Intel CPU void the warranty?
Overclocking an Intel CPU may void the warranty, depending on the model and manufacturer’s policies. Check your processor’s warranty terms and documentation before attempting any overclock.
Can you overclock a non‑K Intel CPU?
You generally cannot overclock a non‑K Intel CPU because its multipliers are locked. Some motherboards allow minor base clock adjustments, but gains are limited and can affect system stability.
What should I check before overclocking an Intel CPU?
Before overclocking an Intel CPU, check that your processor and motherboard support overclocking, update your BIOS, ensure your cooling and power supply are adequate, back up important data, and run baseline benchmarks to understand your starting performance.