


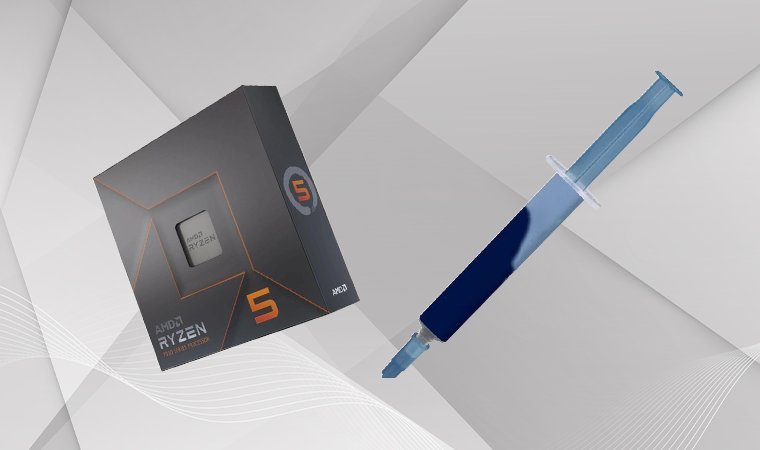
How Much Thermal Paste Should You Put on Your CPU?


Thermal paste is a heat-conductive compound that fills microscopic gaps between your CPU and cooler, providing efficient heat transfer. Without it, your processor would overheat within seconds. But applying the right amount is critical – too much creates a messy barrier, while too little leaves dangerous hot spots that can damage your hardware.
So, how much thermal paste on CPU surfaces should you actually use? The industry-standard recommendation is a pea-sized amount placed at the center of the CPU’s heat spreader. Understanding how much thermal paste the CPU installation requires isn’t just about following guidelines. It’s about protecting your investment and maintaining peak performance.
No matter if you’re building your first gaming rig with the best CPU for gaming or performing routine maintenance, getting this simple step right prevents thermal throttling, system crashes, and premature hardware failure. This guide walks you through everything you need to know, from the correct application amount to step-by-step installation and common mistakes to avoid.
Jump to:
How Much Thermal Paste Is Needed in Your CPU?
The definitive answer to how much thermal paste to use on CPU surfaces is simple: a single pea-sized drop – 4-5mm diameter – in the center of the integrated heat spreader (IHS). This amount has been tested extensively by thermal engineers and consistently provides optimal results across all modern processors. When your cooler applies pressure, this small amount spreads naturally to cover the entire die area without creating excess buildup.
Why this amount works: CPUs generate heat from a small die beneath the metal heat spreader. The paste needs to cover only this critical area – typically 30-40mm² for most consumer processors.
Application Methods Compared
- Pea-sized dot method (recommended for beginners): Place a single 4-5mm drop in the center. This is the simplest and most foolproof approach, requiring no spreading and producing consistent results. Works perfectly for all Intel and AMD mainstream CPUs.
- X-pattern method: Draw a thin X from corner to corner. This approach provides more predictable edge coverage on larger CPUs like AMD Threadripper or Intel HEDT chips with surface areas exceeding 50mm².
- Line method: A thin vertical line down the center, approximately 40mm long and 2-3mm wide. Works well for narrow rectangular coolers, but risks uneven coverage if not centered perfectly.
What Happens in Cases of Wrong Amounts
- Overapplication: Excess paste squeezes out the sides, potentially shorting motherboard components. It creates thicker thermal layers that insulate rather than conduct heat, causing 3-5°C higher temperatures and difficult cleanup.
- Underapplication: Too little paste leaves parts of the die uncovered, creating hotspots that can reach 100°C+. This triggers thermal throttling that reduces performance by 20-40% and can cause permanent CPU degradation.
The pea-sized method hits the sweet spot – enough paste to provide complete die coverage without creating thermal barriers. When you understand exactly how much thermal paste a CPU installation requires, you eliminate the guesswork and ensure optimal cooling performance.
How to Apply Thermal Paste to Your CPU

Applying thermal paste correctly requires following a specific sequence of steps for proper coverage and avoiding common mistakes. While the process is straightforward, each step plays a critical role in achieving optimal thermal performance. Rushing through or skipping steps can result in air pockets, uneven coverage, or contamination that degrades cooling efficiency.
This section breaks down the complete application process into four clear steps, from surface preparation to final installation. No matter if you’re installing a new cooler or replacing old, dried-out paste, following this method guarantees that your CPU runs cool and stable under any workload.
Step 1: Clean off the CPU
Removing old thermal paste is essential before applying fresh compound. Dried paste creates an insulating layer that prevents proper heat transfer and contains dust particles that reduce thermal conductivity. Proper cleaning of thermal paste off CPU surfaces guarantees optimal performance.
Use isopropyl alcohol at 90% concentration or higher (99% is ideal). Apply to a lint-free microfiber cloth or coffee filter – never spray directly on the CPU, as liquid can seep into the socket.
Gently wipe the CPU heat spreader using small circular motions, working from the center outward. Clean until no paste residue remains and the metal surface looks uniformly shiny. Repeat on the cooler’s base plate. Allow 2-3 minutes for alcohol to evaporate completely.
Step 2: Add a Pea-Sized Drop of Thermal Paste to the CPU’s Center
The pea-sized dot method is the industry standard because it consistently delivers optimal results with minimal user error. The key is letting the cooler’s mounting pressure do the spreading work rather than manually smearing the paste, which introduces air bubbles and uneven coverage.
Hold your thermal paste tube directly over the center of the CPU’s heat spreader. Squeeze gently until you’ve created a dome-shaped drop approximately 4-5mm in diameter – about the size of a standard garden pea. The drop should hold its shape rather than spreading flat.
Different CPU sizes: Standard desktop CPUs (Intel Core, AMD Ryzen) use the standard pea-size. Larger CPUs like AMD Threadripper or Intel HEDT chips with 40x50mm heat spreaders may benefit from a slightly larger drop (6-7mm) or an X-pattern. Mobile laptop CPUs in the best laptops need less, approximately rice grain size.
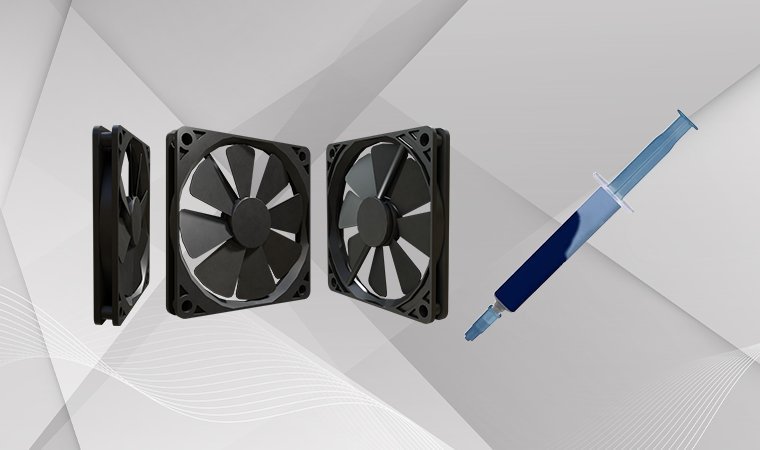
Step 3: Install the AIO Head Onto the CPU
Proper cooler mounting allows the thermal paste to spread evenly across the entire CPU die area. The key is applying consistent, even pressure without shifting the cooler once it makes contact. No matter if you’re using air cooling or liquid CPU coolers, the installation process remains the same.
Align the cooler base directly above the CPU, making sure that the mounting brackets line up with the socket holes. Lower the cooler straight down – do not angle or tilt it – until it makes contact with the paste.
Tighten mounting screws in a cross pattern: partially tighten one screw, then move to the opposite diagonal screw, then the remaining two. Make 3-4 passes, tightening gradually until each screw is snug but not over-torqued. Never lift the cooler once it touches the paste, as this breaks the thermal interface.
Step 4: Detach the Cooler to Confirm the CPU is Covered (Optional)
This step is strictly optional and only recommended if you’re learning proper technique or troubleshooting thermal issues. Experienced builders skip this check since proper application produces consistent results.
Critical warning: If you lift the cooler to check coverage, the thermal interface is broken and you must completely clean and reapply fresh paste. The paste cannot be reused once the seal is broken, even if coverage looks perfect.
To check coverage, carefully remove the cooler immediately after installation. Proper application shows a thin, even layer extending almost edge-to-edge with no bare metal in the center. Bare metal indicates underapplication, while excessive spillage beyond the edges means overapplication.
After Applying Thermal Paste
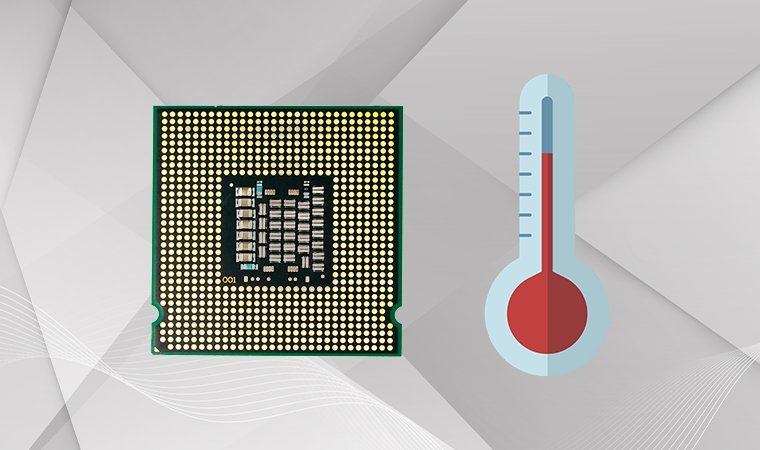
Once your cooler is securely mounted, verify your thermal paste application is working correctly through post-installation monitoring. Even a perfect physical installation can have issues that only become apparent under load.
Boot your PC and enter the BIOS/UEFI interface (usually Delete, F2, or F12 during startup). Most motherboards display CPU temperature on the main page. Your idle temperature should stabilize within 30-40°C for typical desktop CPUs in a 20-25°C room. If temperatures sit at 50°C+ while idle, something is wrong. Understanding what temp your CPU should be helps identify problems early.
Install monitoring software like HWiNFO64, Core Temp, or your motherboard’s utility once Windows loads. Watch temperatures during light use – they should stay between 30-45°C with minimal fluctuation.
Run a light stress test using Prime95 (set to “Small FFTs” mode) or Cinebench for 5-10 minutes. Properly applied thermal paste should keep temperatures under 75-80°C during these tests. Temperatures exceeding 85°C suggest inadequate coverage or mounting issues. Knowing how hot is too hot for CPU operation prevents long-term damage.
Signs of proper application: stable temperatures without random spikes, gradual warm-up from idle to load, consistent behavior across all cores, and no thermal throttling warnings.
If temperatures look wrong, first check that cooler fans are spinning and cables are connected before considering reapplication.
When Do You Need to Apply Thermal Paste?
Understanding when fresh thermal paste is necessary helps you maintain optimal CPU cooling without unnecessary disassembly. Thermal paste degrades over time, but it doesn’t need constant reapplication. Knowing when to reapply and how much thermal paste on CPU surfaces to use guarantees consistent performance.
Installing a new CPU cooler (air or liquid) always requires paste. Most coolers don’t come with paste pre-applied – you must add it yourself. The exception is some all-in-one liquid coolers with pre-applied paste layers, indicated by a protective film you peel off.
Replacing old, degraded thermal paste becomes necessary every 2-4 years depending on paste quality and operating temperatures. High-quality compounds like Arctic MX-4 or Noctua NT-H1 can last 5+ years before drying out, while basic OEM paste often hardens within 18-24 months. Signs your paste needs replacement include gradually increasing idle temperatures (3-5°C higher than when new) or thermal limits during previously cool loads.
Troubleshooting overheating issues requires checking the thermal interface. If your CPU suddenly runs hot after ruling out dust buildup and failing fans, the paste may have dried into a cracked, ineffective layer.
Switching between coolers – even temporarily – breaks the thermal interface and requires cleanup and reapplication. Never reuse paste after removing a cooler. The microscopic air gaps created when breaking the seal cannot be eliminated by simply pressing the cooler back down.
Why Do You Need Thermal Paste?

Thermal paste serves a critical role that’s often misunderstood by beginners. Many assume it’s the primary heat conductor between CPU and cooler, but its actual function is more specific and equally important.
Filling microscopic surface imperfections is the paste’s primary job. Even perfectly machined metal surfaces contain microscopic peaks and valleys invisible to the naked eye. When these surfaces press together, only 10-20% of their area makes actual metal-to-metal contact. The remaining space traps air – one of the worst thermal insulators available. Thermal paste, with conductivity 100x better than air, fills these gaps and creates a continuous thermal pathway.
Preventing catastrophic overheating is the immediate consequence of proper paste application. Modern CPUs generate 65-250 watts of heat in a surface area smaller than a postage stamp. Without paste, this concentrated heat cannot transfer to the cooler efficiently – temperatures would spike to 100°C+ within 15-30 seconds, triggering immediate thermal shutdown. The CPU might not even POST successfully.
Maintaining stable performance under sustained workloads depends entirely on adequate cooling. When CPUs overheat, they implement thermal throttling – automatically reducing clock speeds to decrease heat output. This causes performance drops of 30-50% or more. Gaming frame rates plummet, rendering times double, and basic tasks feel sluggish. Proper thermal paste application prevents throttling and allows your CPU to maintain its rated boost speeds.
Increasing CPU lifespan is the long-term benefit most users overlook. A CPU constantly hitting 95°C+ might develop stability issues within 3-5 years, while a properly cooled chip maintaining 60-70°C maximums can easily last 10+ years without degradation. From high-end CPUs to budget options, proper thermal management guarantees that you get the full lifespan from your investment.
Conclusion
Understanding how much thermal paste on CPU surfaces requires isn’t complicated – it’s about following proven best practices that thermal engineers have refined over decades. A single pea-sized drop placed at the center of your CPU’s heat spreader delivers optimal results for virtually all consumer processors. This amount ensures complete die coverage under mounting pressure without excess buildup.
The application method matters just as much as the amount. Clean both surfaces thoroughly with 90%+ isopropyl alcohol, apply your paste in a single centered drop, and mount the cooler using a cross-pattern tightening sequence without lifting or shifting once contact is made. These simple steps prevent the two most common failures – air pockets from poor coverage and excessive thickness from overapplication.
Proper thermal paste application protects your investment and ensures consistent performance. The difference between correct and incorrect application can mean 10-15°C temperature variations, smooth gaming versus throttling-induced stutters, or years of additional CPU lifespan. Taking five minutes to do this step correctly saves hours of troubleshooting and potential hardware replacement costs.
Whether you’re building your first gaming PC or maintaining an existing system, getting thermal paste right is one of the easiest ways to ensure optimal cooling performance. The process is forgiving for those who follow the basic guidelines – a pea-sized amount, clean surfaces, and steady mounting pressure.
FAQs
Replace every 2-3 years for typical use. Premium pastes last 4-5 years, while budget options last 18-24 months. Replace immediately if experiencing high temps, thermal throttling, or when upgrading coolers. Always reapply if you’ve lifted the cooler for any reason.
Thermal paste is a heat-conductive compound applied between the CPU and the cooler that fills microscopic air gaps on metal surfaces. Without it, air pockets would insulate heat and cause overheating within seconds. It ensures efficient heat transfer to your cooling system.
Use the same pea-sized dot method (4-5mm) as Intel CPUs for mainstream Ryzen chips. For AMD Threadripper’s larger heat spreaders, use a slightly bigger drop (6-7mm) or X-pattern for edge coverage on these high-end desktop processors.
AM4 processors (Ryzen 1000-5000) use the standard pea-sized method – a single 4-5mm centered drop. The mounting pressure spreads it adequately. Avoid manual spreading; let the cooler do the work for bubble-free, consistent coverage.
Boot immediately – most modern pastes work instantly. Some may “cure” during the first hour, with temps dropping 1-3°C as the compound settles. No waiting period is necessary before powering on your PC.
Liquid metal offers 5-10°C better cooling but is electrically conductive and can damage components – only for experts. Thermal pads are reusable but perform 2-5°C worse. Best for low-power CPUs or frequent cooler changes.