

How to Install Windows on Mac: A Gamer’s Guide


Mastering how to install Windows on Mac lets you enjoy Windows‑only games and software without giving up the macOS you love. I’ve installed Windows on several Macs – both Intel models and the newer M‑series – and learned what works, what doesn’t, and how to avoid common pitfalls. This guide distills those experiences into clear steps so you can get Windows up and running smoothly.
Jump to:
Preparing Your Mac for a Windows Install
Start by checking which kind of Mac you own. Intel‑based Macs can use Apple’s built‑in Boot Camp Assistant to run Windows natively. Apple Silicon Macs can’t use Boot Camp, so they rely on virtualization software instead. Knowing your hardware determines which method you’ll follow later. If you’re weighing whether a Mac or PC is better for gaming, our Mac vs PC comparison covers the pros and cons.
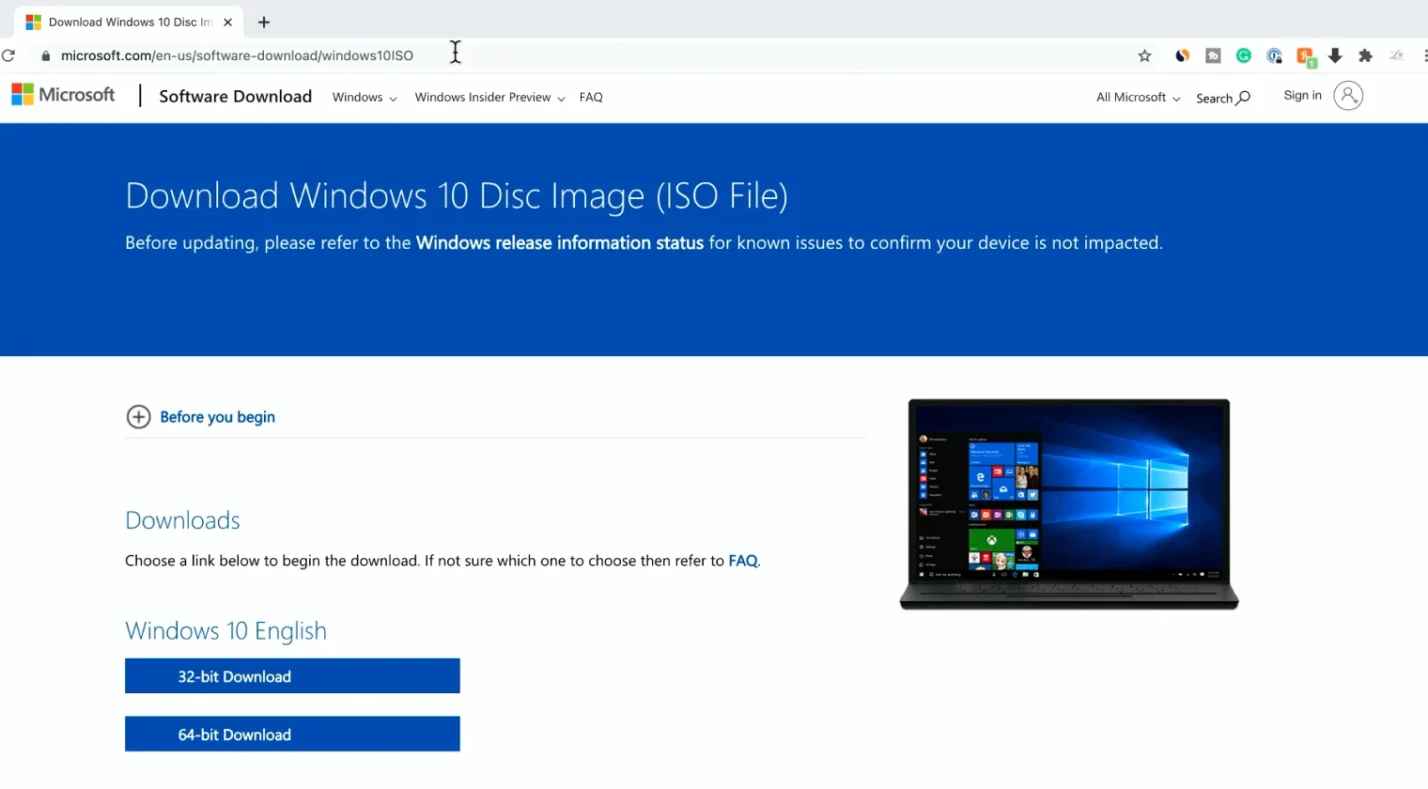
Make sure you have enough free storage. Apple recommends at least 64 GB for the Windows installer, but allocating 100 GB or more provides room for updates and games. Back up your files before partitioning your disk – Time Machine or cloud backups work well. Download a Windows ISO from Microsoft’s website. Windows 10 remains the most compatible version for Boot Camp, but Windows 11 works, too. For Apple Silicon Macs, you need the ARM build of Windows 11.
Gather the hardware you need. Older Intel Macs require a 16 GB USB flash drive to create bootable media; newer macOS versions install directly from the ISO. Keep your Mac plugged in and unplug unnecessary peripherals. If your Mac has a T2 chip, leave Secure Boot on “Full Security” so the installer doesn’t fail.
Installing Windows with Boot Camp Assistant
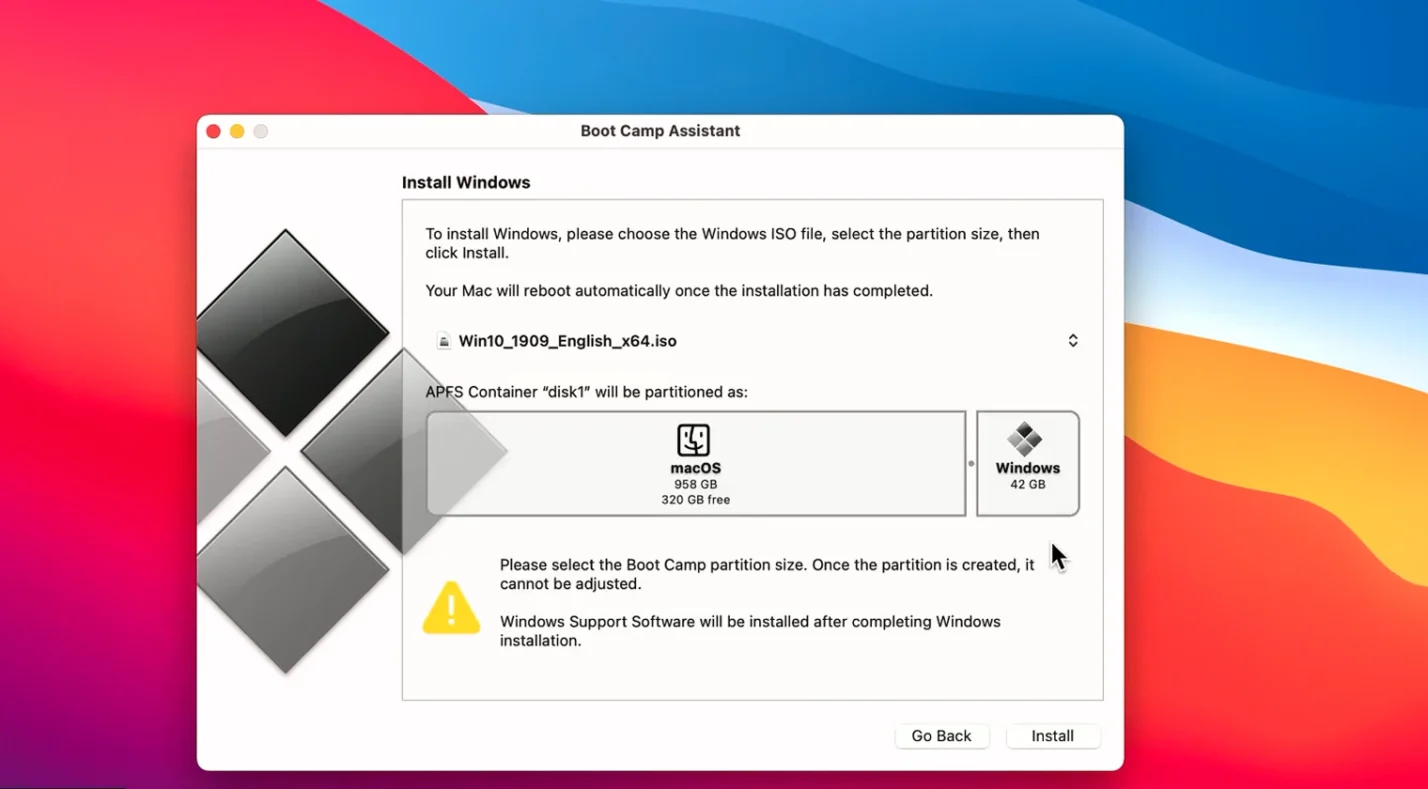
Boot Camp is Apple’s tool for running Windows on Intel Macs. It guides you through partitioning, installing, and updating Windows. Here’s a streamlined approach:
- Open Boot Camp Assistant. Find it in Applications > Utilities. Select your Windows ISO and set the partition size. I usually allocate at least 100 GB so there’s space for games and patches.
- Create the partition. Boot Camp splits your disk and, when necessary, makes a bootable USB drive. Once ready, click Install and let the Mac restart.
- Run the Windows installer. Select the BOOTCAMP partition when prompted and choose Format. Windows will copy files and reboot several times.
- Install drivers. After setup finishes, the Boot Camp installer appears inside Windows. Follow the prompts to install drivers for Wi‑Fi, sound, graphics, and input devices. Restart again when it’s done.
When Windows is installed, you can choose your startup OS by holding the Option (Alt) key at boot. Boot Camp delivers near‑native performance because Windows runs directly on your Mac’s hardware. The downside is having to restart whenever you want to return to macOS. If you plan to play competitive shooters like Valorant, Boot Camp is essential because anti‑cheat software blocks virtual machines. Our Valorant on Mac guide walks through that process.
Installing Windows on Apple Silicon Macs with Virtualization
Apple’s M‑series processors use a different architecture, so Boot Camp doesn’t exist on these models. The alternative is to run Windows inside a virtual machine. Virtualization lets you use Windows and macOS at the same time and works on both Intel and Apple Silicon Macs, but it’s the only option on M‑series machines.
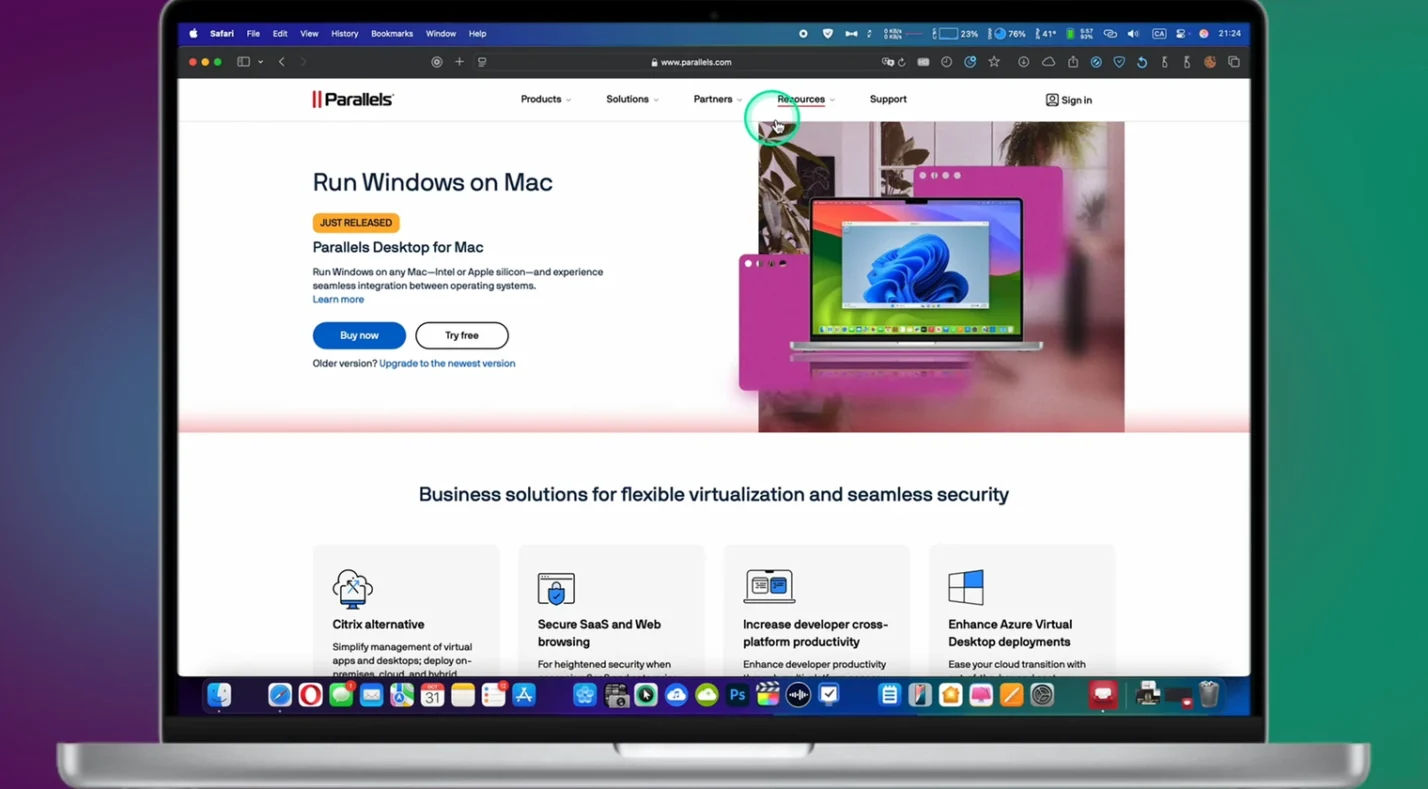
The easiest virtualization tool is Parallels Desktop. It downloads and configures Windows 11 ARM automatically and provides features like Coherence mode, which makes Windows apps appear as if they’re native Mac apps. Free options like UTM and VirtualBox can run Windows as well, but they require you to download the ISO yourself and manually configure the VM. Whatever tool you choose, assign at least 8 GB of RAM and 64 GB of disk space to the virtual machine to avoid bottlenecks.
After creating your VM, follow the standard Windows setup process. Install the virtualization software’s tools (Parallels Tools or UTM Spice Guest) to enable shared clipboards, drag‑and‑drop file transfers, and dynamic display resizing. Once Windows is up, run Windows Update to apply security patches. Virtualization is flexible – you can resize the VM or suspend it when you’re done – but it introduces overhead. ARM Windows emulates x86 software, which can slow performance and prevent some games from running. For titles like Minecraft that tolerate emulation, virtualization is perfect; our Minecraft on Mac guide explains more.
Boot Camp vs. Virtualization
Both methods have benefits and drawbacks. Boot Camp offers the best performance because Windows runs directly on your Mac’s hardware, and you get full support for anti‑cheat systems and DirectX. However, it’s limited to Intel Macs and forces you to reboot to switch operating systems. You also can’t easily resize the Windows partition later.
Virtualization works on both Intel and Apple Silicon Macs and lets you run Windows and macOS side by side. It’s convenient for launching Windows apps quickly and for multitasking. However, some applications and games won’t run because they detect virtual environments or because ARM emulation isn’t perfect. Virtualization software often requires a subscription; free options exist but lack hardware acceleration and other conveniences. Deciding between the two methods depends on your Mac model, the types of programs you intend to run, and whether convenience or raw speed matters more. For more help choosing hardware, our MacBook gaming guide reviews the best models for different budgets.
Post‑Install Tips and Optimizing Windows
After Windows is installed, spend time updating and configuring it. Run Windows Update to apply security patches and driver updates. On Intel Macs, Boot Camp drivers enable Wi‑Fi, graphics, and trackpad gestures; if something doesn’t work, open the Boot Camp folder on your Windows desktop and run the installer manually. On a virtual machine, install the guest tools provided by your virtualization software for smooth mouse input and file sharing.
Adjust boot settings: In macOS, go to System Settings > Startup Disk to set your default OS. On Intel machines, you can also hold Option at startup to choose. Keep plenty of free space on your Windows partition or VM – around 20 % – to maintain performance. If you’re gaming, lower your resolution and graphics settings to stabilize frame rates and consider using a cooling pad. When recording gameplay or tutorials, follow our guide to recording video on Mac to capture footage without lag.
Troubleshooting
Even well‑prepared installations sometimes hit snags. If Boot Camp refuses to partition the disk, clear space by deleting large files or using Disk Utility to repair your drive. If the Windows installer doesn’t recognize the BOOTCAMP partition, select it and click Format. Should drivers fail to install, open the Boot Camp folder in Windows and run setup.exe manually. On a virtual machine, sluggish performance usually improves when you allocate more RAM or close unused macOS apps. Be patient with Windows updates; they can restart your VM several times, but they’re essential for stability.
Other Ways to Access Windows Software
If you only need a few Windows programs, you don’t have to install a full operating system. Remote desktop services stream Windows from a separate computer to your Mac, letting you use Windows apps without local installation. Compatibility layers like CrossOver translate Windows apps to macOS calls; they work well for some productivity software but aren’t universal. Cloud gaming services stream games from powerful servers to your Mac – great for playing Windows titles without worrying about hardware. For more on choosing hardware for cloud gaming, see our MacBook gaming guide.
Wrapping Up and Getting a Genuine Key
Installing Windows on a Mac expands your software library and gives you access to games that aren’t available on macOS. Preparation is crucial: know your Mac’s architecture, free up space, and choose the right method – Boot Camp for Intel Macs or virtualization for Apple Silicon. Follow the streamlined steps in this guide, update your system, and fine‑tune settings for the best experience.
When you’re ready to activate Windows, you’ll need a product key. Consider purchasing a Windows 10 Home key from our marketplace. A genuine key guarantees your Windows installation receives essential updates and lets you personalize your system. With your Mac now a dual‑boot powerhouse, you’re free to enjoy the best of both operating systems.
FAQs
How do I install Windows on my Mac?
To install Windows on your Mac, use Boot Camp Assistant on Intel models or a virtual machine on Apple Silicon. Boot Camp partitions your drive and guides you through Windows setup, while virtualization lets Windows run alongside macOS without rebooting.
Can I install Windows 11 on my Mac?
Yes. Intel Macs can install Windows 11 using Boot Camp, though Windows 10 is more widely supported. Apple Silicon Macs require the ARM version of Windows 11, which you run in a virtual machine.
Does Boot Camp work on Apple Silicon Macs?
No. Apple Silicon Macs can’t run Boot Camp because their processors use a different architecture. Use virtualization software like Parallels Desktop, UTM, or VMware Fusion to run Windows instead.
How much space do I need for Windows on Mac?
Allocate at least 64 GB for Windows, though 100 GB or more is better for games and updates. Virtual machines need similar space, but you can resize them more easily than Boot Camp partitions.
Is installing Windows on Mac safe for my data?
It’s safe as long as you back up your files and follow official tools. Avoid deleting partitions manually, keep your system updated, and use reputable software to manage the install.