

How to Record Video on Mac: Capture Your Gameplay and Tutorials


Recording on macOS has never been simpler. Today, you don’t need expensive software or complex setups to capture your game sessions or instructional videos. Everything you need to know about how to record video on Mac is built into the operating system. In this article, I walk you through quick recording methods, share practical advice from my own projects, and point you to our trusted guides for choosing the right MacBook and audio gear.
Jump to:
How to Record Video on Mac: Quick Start Guide
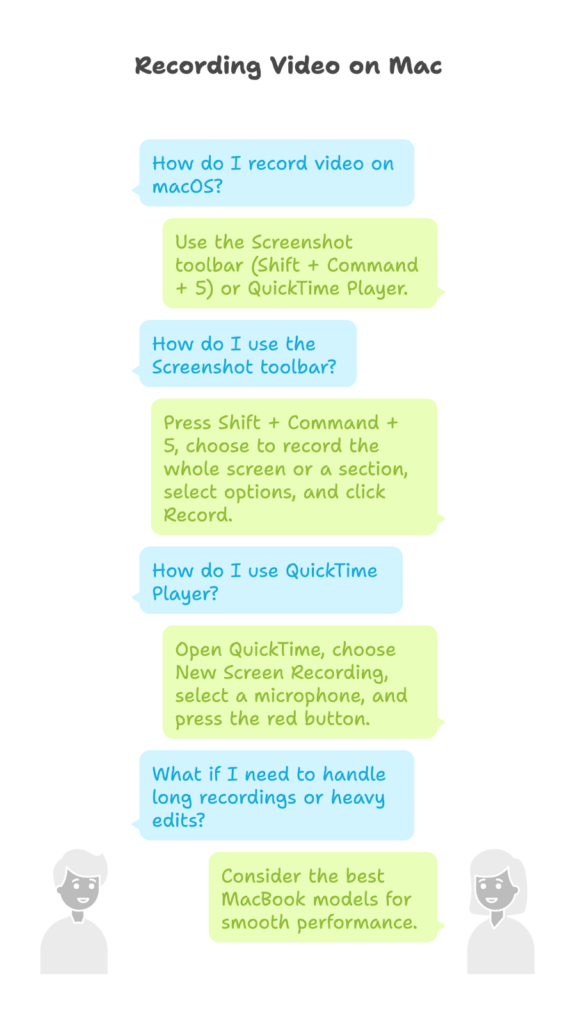
The easiest way to record on macOS is through the Screenshot toolbar. Press Shift + Command + 5 and choose to record the whole screen or drag to capture a section. In the Options menu, you can pick a save location and turn microphone audio on or off. Click Record to start and click the stop icon when you’re done; the video lands on your desktop automatically. QuickTime Player offers a similar workflow: open it, choose New Screen Recording, select a microphone if you want narration, and press the red button. QuickTime instantly opens your clip so you can preview or save it elsewhere.
If you expect to handle long recordings or heavy edits, our overview of the best MacBook models can help you choose a machine that stays smooth under pressure. This quick guide shows you how to record video on Mac in seconds without needing third-party apps.
Using QuickTime Player for Screen, Camera, and Audio
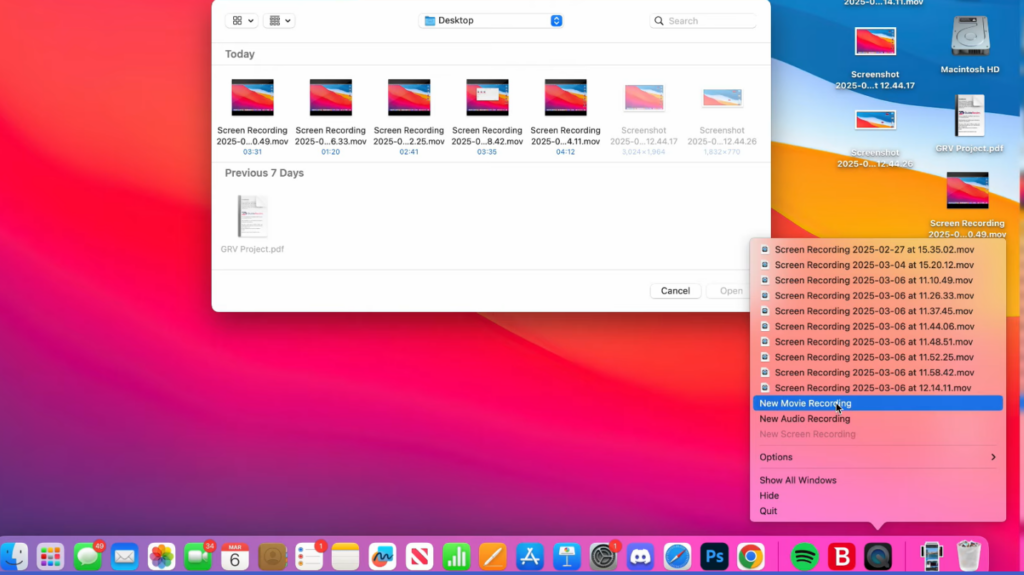
QuickTime Player isn’t just for playback, though. It can also capture your screen, your camera, and your voice. Use New Screen Recording to grab your display, New Movie Recording to film yourself through the built-in FaceTime camera or a USB webcam, and New Audio Recording for voice-only clips. Before pressing record, pick your microphone or camera from the drop-down menu. QuickTime doesn’t capture system audio on its own, but pairing it with a good mic keeps your narration clear. USB mics are plug-and-play and deliver crisp sound; our guide to the best USB microphones in 2025 highlights options I’ve tested that cut through background noise and make commentary sound professional.
Preparing Your Mac for Smooth Recording
Before you press record, tidy up your desktop. Quit any programs you don’t need to free up memory and avoid pop-ups; recording while multiple games or browsers are running can cause stuttering. Check your storage so you have space for the video. In About This Mac, the Storage tab shows how much space remains. If it’s tight, move files to an external drive or change the save location in the Screenshot toolbar’s options.
Sound and lighting matter just as much as system performance. Set up your microphone close to your mouth, speak clearly, and test levels to avoid clipping. Reduce echo by recording in a smaller room and closing windows. If you need hi-quality sound captured, follow how to record audio on Mac for the best results.
Good lighting makes camera footage look cleaner; even a small ring light can brighten your face if you’re on screen.
For those on a budget, our article on budget microphones highlights affordable mics that plug in via USB and improve voice clarity without extra software.
Editing and Sharing Your Recordings
After recording, you may need to trim or polish your clip. QuickTime’s Trim tool lets you remove the beginning or end of a file in seconds. For more detailed work, such as splitting clips, adding titles, or combining multiple recordings, open iMovie, which comes free with macOS. Its timeline view is intuitive, and you can export finished videos at different resolutions.
Sharing your work is simple: drop the file into Messages, upload it to YouTube, or AirDrop it to another device. To reduce file size, choose a lower resolution when exporting from iMovie or use QuickTime’s Export As feature. Organize your videos by creating folders for raw footage, edits, and final cuts, and back them up to an external drive or cloud service so you never lose your work.
Final Thoughts and Recommendations
Learning how to record video on Mac lets you capture game highlights, tutorials, and anything else on your screen without fuss. The Screenshot toolbar and QuickTime Player provide all the tools you need, and with a bit of preparation, such as freeing up memory, checking storage, and setting up a mic and light, you can produce crisp, clear videos. When you feel like treating yourself, consider expanding your library with a digital code. A Steam Gift Card gives you credit to pick up new games and makes a thoughtful gift for fellow players.
FAQs
How do I record my screen on a Mac without third party software?
To record your screen on a Mac without third party software, use the built-in Screenshot toolbar or QuickTime Player. Press Shift + Command + 5 for the toolbar and pick a screen recording option, or open QuickTime and select File > New Screen Recording. Both methods let you capture the full screen or a selected area and save the video automatically.
Can I record video with audio on my Mac?
Yes, you can record video with audio on your Mac by selecting a microphone before you start. In QuickTime Player, click the drop-down arrow next to the record button and choose your mic. In the Screenshot toolbar, open Options and select Built-in Microphone. This captures your voice along with the screen.
How do I record myself using the camera on a Mac?
To record yourself using the camera on a Mac, open QuickTime Player and select File > New Movie Recording. The FaceTime camera feed appears. Click the arrow beside the record button to choose a microphone if needed, then press record. QuickTime saves the video when you click the stop icon.
What software can I use to record system audio on a Mac?
The software you can use to record system audio on a Mac includes third-party programs like OBS Studio. QuickTime does not record internal sound by itself, so tools with virtual audio drivers are necessary if you need to capture game audio or other system sounds alongside your commentary.
How do I trim a recording on a Mac?
To trim a recording on a Mac, open the file in QuickTime Player and choose Edit > Trim. Drag the handles at the beginning and end of the timeline to select the portion you want to keep, then click Trim. This shortens the video and removes extra footage from the start or end without affecting the rest of the clip.