

How to Use a Projector: Complete Setup Guide for Gaming and Movies


Whether you’re planning an epic Elden Ring playthrough on a 100-inch screen or setting up an outdoor movie night with friends, knowing how to use a projector properly makes all the difference. I’ve tested dozens of projector setups for gaming and entertainment, and the process is actually simpler than most people think. Let’s see how to do it.
Jump to:
Setting Up Your Projector: The Basics
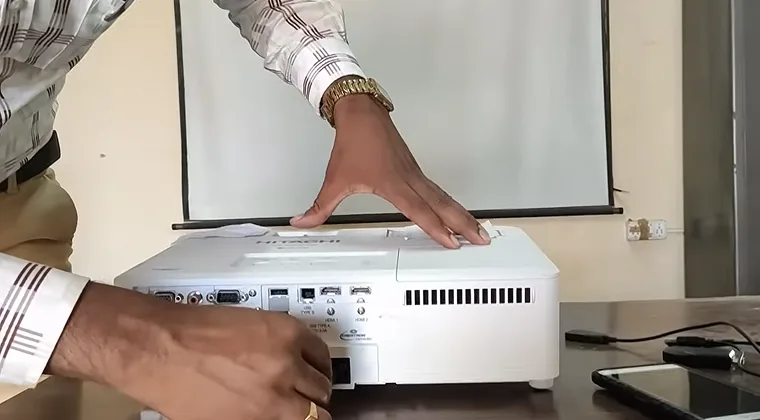
Getting started with a projector requires just a few essential steps:
- Unpack and prep the projector. Remove any lens caps or covers and place the projector on a stable, level surface like a table, shelf, or ceiling mount. Aim it directly at your wall or screen for the cleanest alignment.
- Power it on. Plug in the power cable, hit the power button, and let it warm up. LED models need around 30-60 seconds, and lamp-based models up to 2 minutes. You’ll see a startup screen or a “no signal” message once it’s ready.
- Dial in your image. Point the projector at your surface, then adjust the focus ring until the picture looks sharp. Use the zoom control to size the image without moving the projector. If the picture looks crooked or trapezoidal, open the settings and apply keystone correction to square it up.
- Check your screen surface. Make sure your wall or screen is clean and light-colored. Dark walls kill brightness fast. Even the best projectors won’t give you their 100% without a proper projection screen, but a smooth white wall will get the job done for casual sessions.
How to Use a Projector With a Laptop
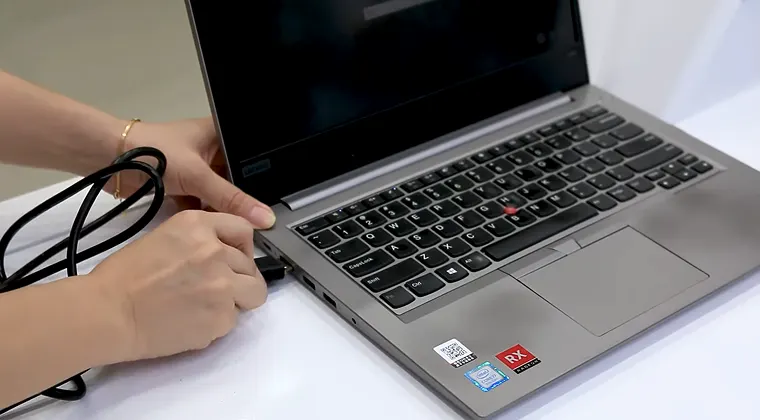
Connecting your laptop to a projector is the most common setup for gaming and presentations. The connection method depends on what ports your laptop and projector have available. Here are quick explanations for each possible scenario.
HDMI Connection
HDMI is the easiest and most reliable way to connect. Locate the HDMI port on your laptop, usually on the side or back. Plug one end of your HDMI cable into the laptop and the other end into the projector’s HDMI input. The projector should automatically detect the signal.
Using your projector’s remote control, select the correct HDMI input source. If your projector has multiple HDMI ports labeled HDMI-1 or HDMI-2, choose the one you plugged into. Your laptop screen should now appear on the projection surface. HDMI carries both video and audio through a single cable, which means you’ll get sound from the projector’s built-in speakers automatically.
USB-C Connection
Newer laptops often use USB-C ports for everything, including video output. If your laptop has USB-C and your projector has USB-C input, you can connect directly with a USB-C cable. If your projector only has HDMI inputs, you’ll need a USB-C to HDMI adapter. Plug the adapter into your laptop’s USB-C port, then connect your HDMI cable from the adapter to the projector.
VGA Connection
Some older projectors and laptops still use VGA connections. VGA ports are blue and trapezoid-shaped with 15 pins. If you’re using VGA, remember that it only carries video signal, not audio. You’ll need a separate 3.5mm auxiliary cable from your laptop’s headphone jack to the projector’s audio input or external speakers.
Wireless Connection
Many modern projectors support wireless connectivity. Enable the Wi-Fi feature on your projector through the settings menu. Make sure both your laptop and projector are connected to the same Wi-Fi network. On Windows, press Windows key + K to open the wireless display menu, then select your projector. On Mac, click the AirPlay icon in the menu bar and select your projector.
Adjusting Display Settings
Press Windows key + P to open the projection menu. You’ll see four display mode options:
- PC screen only shows content only on your laptop screen
- Duplicate mirrors your laptop display on both screens
- Extend treats the projector as a second monitor
- The second screen only turns off your laptop display and only uses the projector
For gaming performance, I recommend “Second screen only” mode. This prevents your laptop from rendering graphics on two displays simultaneously, reducing strain on your GPU. On Mac, go to System Settings > Displays and choose “Mirror Displays” to show the same content on both screens.
Set your display resolution to match your projector’s native resolution for the sharpest image quality. Most home theater projectors run at 1080p or 4K resolution. Gaming projectors often support 60Hz, 120Hz, or even 240Hz refresh rates for competitive games like Counter-Strike 2 or Valorant.
If you want to learn more about the inner workings of these devices, check our full guide on how a projector works.
How to Use a Projector Outside
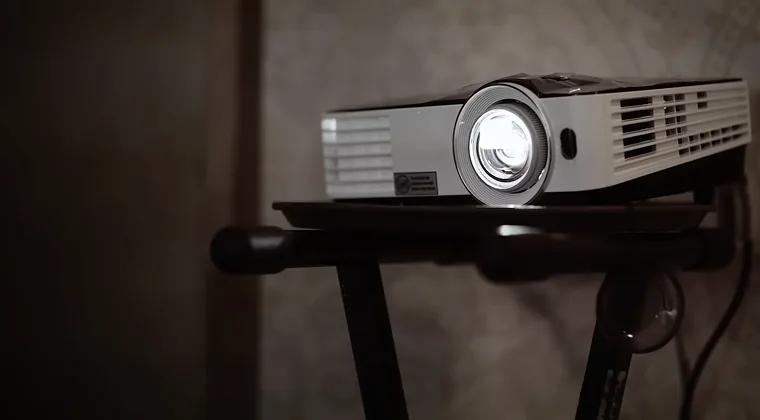
Outdoor projection creates an incredible experience for movie nights and gaming sessions, but it requires some additional considerations.
Brightness Requirements
The biggest challenge with outdoor projection is ambient light. So, hitting the right brightness depends on how you plan to use the machine most often.
For nighttime use after sunset, you’ll need a minimum of 500 ANSI lumens for a decent image. However, I recommend at least 1,000 lumens for backyard setups where street lights or patio lights add ambient illumination. If you’re projecting during dusk or early evening when there’s still some natural light, aim for 2,000 to 3,000 lumens to maintain image clarity.
Power and Placement
Position your projector on a stable outdoor table or cart. If you’re far from power outlets, consider a solid portable projector with a built-in battery. These typically last 2-4 hours on a full charge, enough for most movies or extended gaming sessions. Keep your projector away from moisture, sprinklers, and rain. Most home projectors aren’t weatherproof, so plan for a covered area or be ready to move equipment if weather changes.
Screen Setup
A dedicated outdoor projection screen provides the best image quality. Portable screens with stands are affordable and easy to set up in your backyard. If you’re using a wall, choose a smooth, light-colored surface. Textured stucco or siding creates visible patterns in your image.
Position your screen away from direct light sources like porch lights, street lamps, or car headlights. Even the best outdoor projector with 3,000 lumens will struggle against competing light sources. The ideal outdoor setup places the screen in a naturally shaded area with the projector facing away from lights.
Playing Baldur’s Gate 3 or Final Fantasy VII Rebirth on a massive outdoor screen is an unforgettable experience. Wireless game controllers have a range of about 30 feet, so position your laptop or console close to your seating area.
How to Use a Projector During the Day
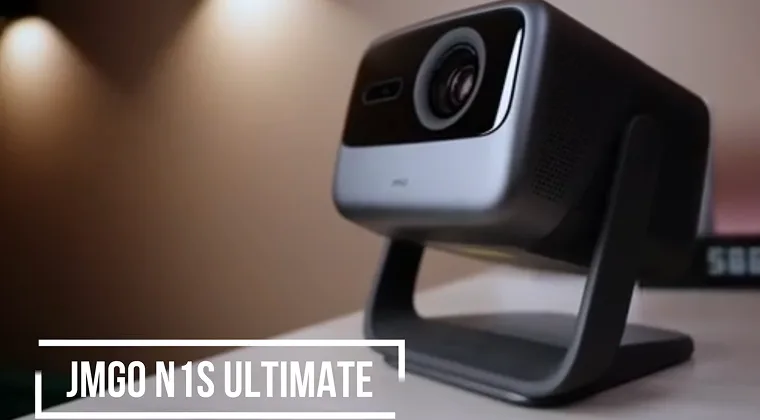
Daytime projection requires the right equipment and setup to overcome bright ambient light. This isn’t about getting the best 4K projector; it’s all about lumens and light control if you want to shine during the day.
Lumen Requirements
In shaded indoor areas with natural light from windows, you can get away with 1,500 to 2,500 lumens. For outdoor daytime use or rooms with large windows, though, you’ll need 3,000 to 5,000 lumens minimum
Avoid projecting between 11 AM and 2 PM when sunlight is most intense. Overcast days make projection much easier with a 2,000-3,000 lumen projector.
Controlling Light
Close curtains or blinds to block direct sunlight. Blackout curtains can reduce room brightness by 90% or more. Position your screen perpendicular to windows rather than directly across from them to prevent sunlight from hitting the screen directly. Turn off or dim ceiling lights as much as possible.
High-gain projection screens (1.3 to 1.5 gain) reflect more light toward viewers and work better in bright conditions. Gray screens can improve contrast in rooms with ambient light by absorbing some ambient light while maintaining good color from the projector.
Playing competitive games like League of Legends or Valorant during the day requires sufficient brightness to render dark scenes clearly. Adjust your in-game brightness settings higher than you would for nighttime gaming.
| Lighting Condition | Minimum Lumens | Recommended Lumens | Best For |
|---|---|---|---|
| Dark room (night) | 500 | 1,000-1,500 | Movies, story games |
| Living room (ambient) | 1,500 | 2,000-2,500 | Casual gaming |
| Outdoor evening | 1,000 | 2,000-3,000 | Backyard movies |
| Daytime indoor | 2,000 | 3,000-4,000 | Gaming, presentations |
| Outdoor daytime | 3,000 | 4,000-6,000 | Large gatherings |
Understanding Screen Distance and Positioning
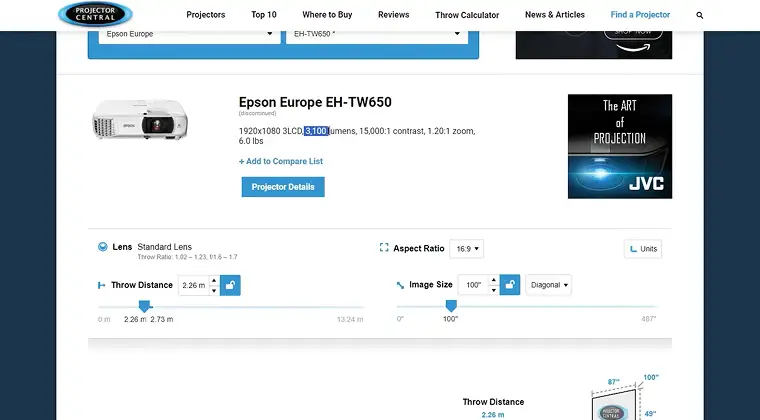
Proper projector placement ensures your image fills the screen correctly and maintains focus.
Throw Distance Basics
Throw distance refers to how far your projector sits from the screen. Every projector has a throw ratio that determines this relationship. A throw ratio of 1.5:1 means for every 1.5 feet of distance, you get 1 foot of image width. Standard-throw projectors typically have ratios above 1.5:1. Short-throw projectors have ratios between 0.4:1 and 1.0:1, perfect for smaller rooms. Ultra short-throw projectors sit just inches from the screen with ratios under 0.4:1.
If you’re pressed for space and still want to enjoy a proper projection without digging a gaming basement, check our list of the best short-throw projectors on the market.
For a 100-inch screen (16:9 aspect ratio), the image width is approximately 7.2 feet. With a 1.5:1 throw ratio, place your projector about 10.8 feet from the screen. Use your projector’s manual or manufacturer’s website to find its specific throw ratio.
Positioning Tips
Position your projector at roughly the same height as the center of your screen for the best image. If positioned above or below, you’ll need keystone correction, which digitally adjusts the image but slightly reduces quality.
Test different positions before permanent mounting. Play through games with varied lighting like Elden Ring’s bright outdoor areas and dark catacombs to ensure consistent image quality.
The ideal viewing distance for gaming is about 1.0 to 1.5 times your screen’s diagonal measurement. Paint walls in neutral colors if possible, as bright colored walls reflect light onto your screen and affect color accuracy.
Audio Setup and Maintenance
Most projectors have built-in speakers, but these lack the power serious gamers want. For immersive audio, connect solid gaming speakers or a sound system. HDMI carries audio automatically. For outdoor setups, Bluetooth speakers offer wireless convenience.
Always allow your projector to cool down before unplugging it. Most run a cooling cycle for 30-90 seconds after powering off. Clean the lens with a microfiber cloth and clean the air filter monthly. Replace traditional lamps after 3,000-5,000 hours, while LED and laser projectors last 20,000+ hours.
Wrapping Up
Learning how to use a projector properly transforms your gaming and entertainment setup. Whether you’re connecting a laptop for competitive gaming, setting up an outdoor movie night, or maximizing daytime viewing, the key factors are proper connections, adequate brightness, and correct positioning.
Ready to level up your gaming experience? Head over to Eneba Marketplace to find incredible deals on the latest games perfect for your massive projection screen. From sprawling RPGs to competitive multiplayer titles, we’ve got everything you need to make the most of your projector setup.
FAQs
You don’t absolutely need a special screen, but dedicated projection screens provide much better image quality than walls. Screens are designed to reflect light evenly and reject ambient light, resulting in brighter images with better contrast and color accuracy.
Yes, most projectors will produce a visible image outdoors during the day if they have sufficient brightness. You’ll need at least 3,000 lumens for daytime outdoor use, with 4,000-5,000 lumens recommended for bright conditions. Set up in shaded areas and avoid the brightest midday hours for best results.
Check that the HDMI cable is securely connected on both ends and that you’ve selected the correct input source on the projector. Press Windows key + P on your laptop and select “Duplicate” or “Extend” to enable the projector display. If still no signal appears, try a different HDMI cable or port.
The ideal viewing distance is 1.0 to 1.5 times your screen’s diagonal measurement for immersive gaming and movies. For a 100-inch screen, sit between 8.3 and 12.5 feet away. Closer seating provides a more immersive experience, while farther seating lets you see the entire image without moving your eyes.
Yes, many gaming projectors work great for competitive play. Look for models with low input lag (under 16ms), high refresh rates (120Hz or more), and sufficient brightness. Test your specific projector with competitive games before important matches to ensure the response time meets your standards.