

How to Record Audio on Mac: Complete Guide for Gamers and Creators

You can learn how to record audio on Mac in a few hours. Knowing the right tools and setups makes all the difference. I’ve tested several methods myself, from capturing game sound for highlights to using GarageBand for podcasts. In this guide, I’ll walk you through the easiest and most reliable ways to record audio on Mac, so you can save time and get professional-quality results.
Jump to:
How to Record Audio on Mac Using Built-in Tools
The fastest way to start recording on Mac is by using built-in apps. Apple designed macOS with some solid tools that don’t require extra downloads.
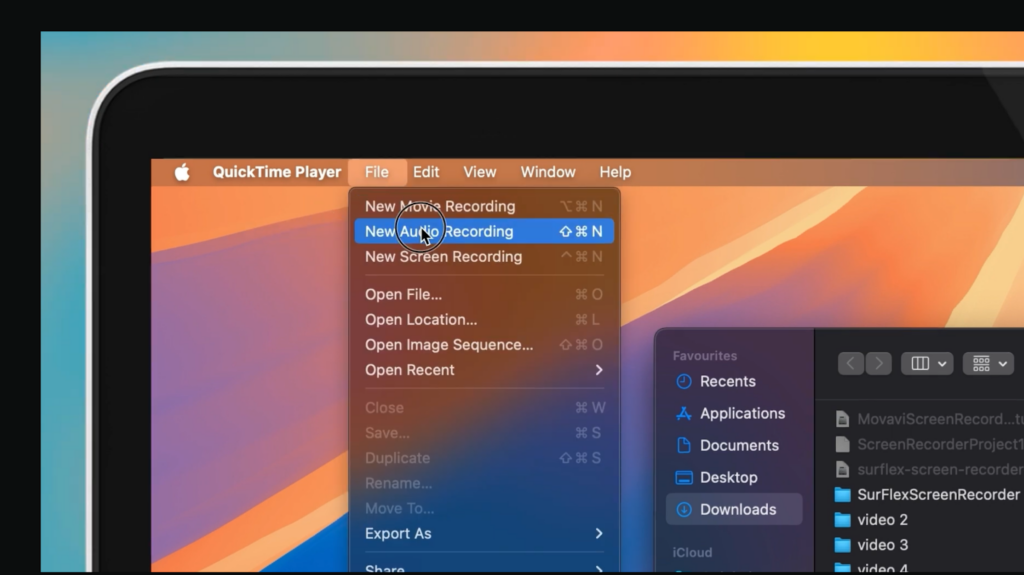
QuickTime Player is a tool most people overlook. It’s not only for video playback. I’ve used it to record my voice during quick game review notes. To start, open QuickTime, select New Audio Recording, and hit the record button. It’s minimalistic but reliable.
Another option is Voice Memos, which syncs across your Apple devices. I often use it for quick reminders, like noting timestamps for game recordings I want to edit later. It’s perfect for short sessions or casual use.
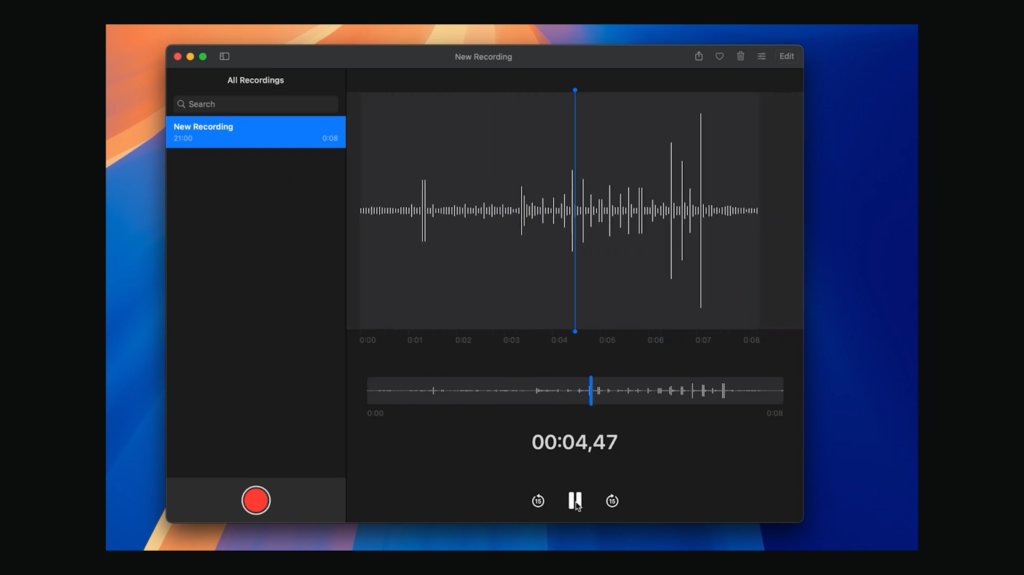
Both of these tools come with limitations, though. For example, they won’t capture internal system sound. So, when I wanted to record in-game audio during my exploration of the best Naruto games, I need to look at more advanced software.
Recording Audio on Mac With External Software
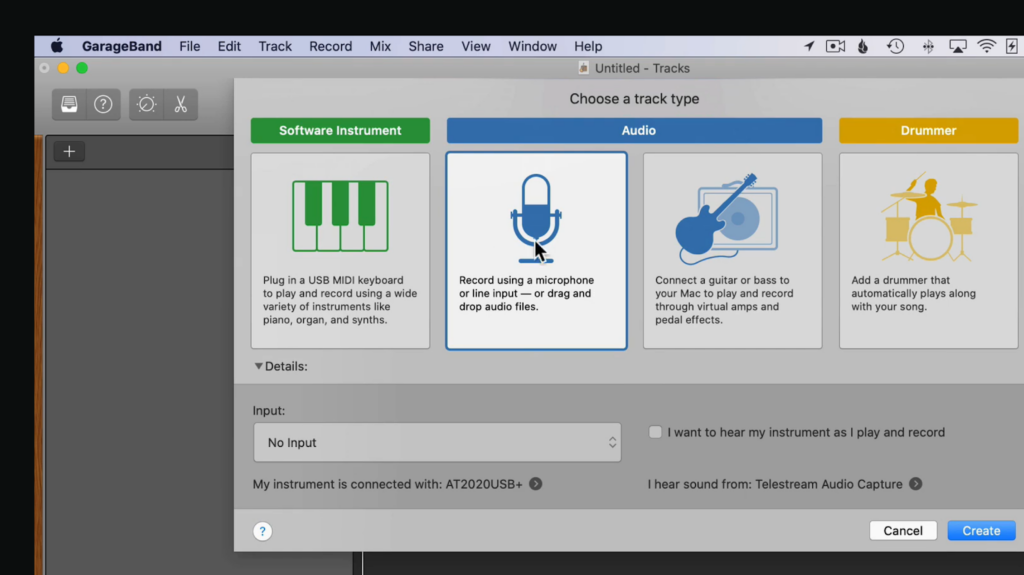
When built-in tools fall short, external apps step in. GarageBand is one of the most popular options and comes free with most Macs. I’ve used it for editing podcast-style content and layering audio for some solid horror games. It gives you multitrack recording, effects, and editing tools that QuickTime can’t match.
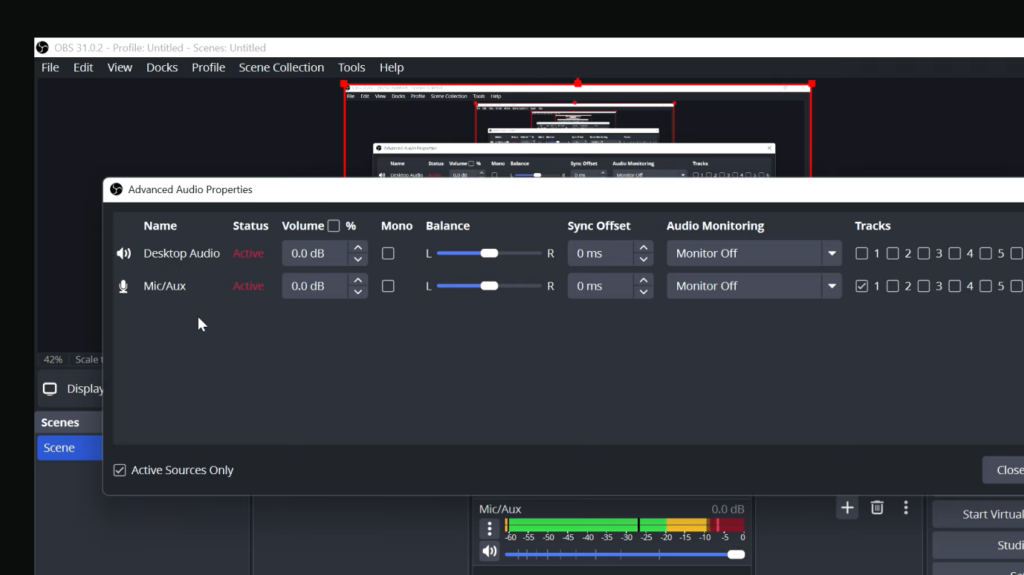
For gamers, OBS Studio is a must-have. It’s free, open-source, and lets you record both system sound and microphone input at the same time. I’ve relied on it to capture live gameplay sessions without issues. It also doubles as a streaming tool, so if you’re planning to broadcast on Twitch or YouTube, it saves you from juggling multiple programs.
Another widely used app is Audacity. It’s lightweight and useful for voice recording and editing. I often recommend it to anyone who doesn’t need GarageBand’s extra features but still wants control over their recordings.
Using external software opens the door to better sound quality and versatility. With just a bit of setup, you can produce recordings that work for professional projects or streaming.
Capturing Gameplay and Streaming Audio on Mac
Gamers often need to capture both their commentary and in-game sound. Just imagine streaming a popular FPS game without your audience being able to hear your reactions in real time. On a Mac, this can be tricky because the system doesn’t allow direct recording of internal audio. I’ve run into this problem myself when trying to record highlights of online matches.
The solution usually comes in the form of audio routing apps. When paired with OBS Studio, tools like Loopback or BlackHole let you channel system sound into your recording setup. It takes a bit of trial and error the first time, but once it’s configured, it works seamlessly.
When recording gameplay, I recommend adjusting your mic and system audio levels separately. That way, your voice isn’t drowned out by game explosions or background music. Some streamers prefer to use a USB mic for commentary while letting OBS handle the in-game capture.
Choosing the Right Setup for Your Needs
Not all recordings need the same level of detail. I’ve noticed that gamers, students, and content creators each approach audio differently.
- Gamers often need clear commentary alongside gameplay sound. A solid budget microphone paired with OBS Studio usually does the trick.
- Students may only need Voice Memos or QuickTime for class notes and lectures. These lightweight tools don’t require heavy setup.
- Content creators benefit from GarageBand or Audacity for layered editing. These programs help polish the final product before uploading.
The key is knowing your priorities. If you only need casual notes, don’t complicate things. If you want crisp audio for a podcast or video, invest in a decent microphone and software. I upgraded to an external mic after months of relying on the MacBook’s built-in one, and the difference in clarity was huge.
Editing and Saving Your Recordings
Recording is only the first step. Editing can transform rough audio into something polished and professional. QuickTime allows trimming, which is useful if you just want to cut out silences or mistakes.
For more detailed work, GarageBand and Audacity give you access to filters, equalizers, and noise reduction. I’ve used these to clean up background sounds when recording late at night. Even basic tweaks make recordings feel more professional.
When saving, think about your file format. MP3 is lightweight and compatible with most platforms. WAV is larger but keeps audio uncompressed for better quality. For video projects, you may want to export audio alongside video files in OBS.
Sharing recordings is also easy. I often export files to cloud storage or directly into editing software for my gaming highlights. Having a consistent workflow helps avoid losing files or mixing up versions.
Wrapping It Up
Learning how to record audio on Mac doesn’t take much time, but choosing the right method depends on your goals. For quick notes, stick with Voice Memos or QuickTime. For gaming, OBS Studio is your best bet. And for creative editing, GarageBand or Audacity will give you more control.
If you’re looking to upgrade your setup or want to make things easier, our Apple gift cards can help you grab premium apps and storage space right from the App Store. It’s a simple way to power up your workflow and keep your recordings organized.
FAQs
How do I record audio on my Mac?
To record audio on your Mac, you can use built-in apps like QuickTime Player or Voice Memos. These tools let you quickly capture voice recordings or notes without downloading extra software.
Can I record internal audio on Mac without third-party apps?
No, you cannot record internal audio on Mac without third-party apps. macOS restricts direct system sound capture, so you’ll need tools like OBS Studio or audio routing apps.
What is the best software for recording audio on Mac?
The best software for recording audio on Mac depends on your needs. For quick notes, Voice Memos works well, while GarageBand or OBS Studio are better for podcasts, gameplay, and professional audio.
How do I record gameplay audio on Mac?
To record gameplay audio on Mac, you can use OBS Studio with additional tools like BlackHole or Loopback. This setup captures both in-game sound and microphone input for commentary.
Where are audio recordings saved on Mac?
Audio recordings on Mac are saved in the Music or Voice Memos folders by default. If you’re using third-party apps, you can choose custom save locations or export formats like MP3 or WAV.