


How to Unlock the Sewer in Stardew Valley: Complete Guide

I spent my first 80 hours in Stardew Valley completely unaware that the sewer existed. Turns out, I’d been selling artifacts to make quick cash instead of donating them to Gunther.
The sewer houses Krobus, a shadow person merchant who sells items you can’t get anywhere else. But getting inside requires patience, strategy, and exactly 60 Museum donations.
This guide breaks down everything you need to know about how to unlock sewer Stardew Valley. You’ll learn which items count toward your donation total, where to find them efficiently, and how to avoid the common mistakes that delayed my own sewer access.
Jump to:
How to Unlock the Sewer in Stardew Valley: The Museum Requirement
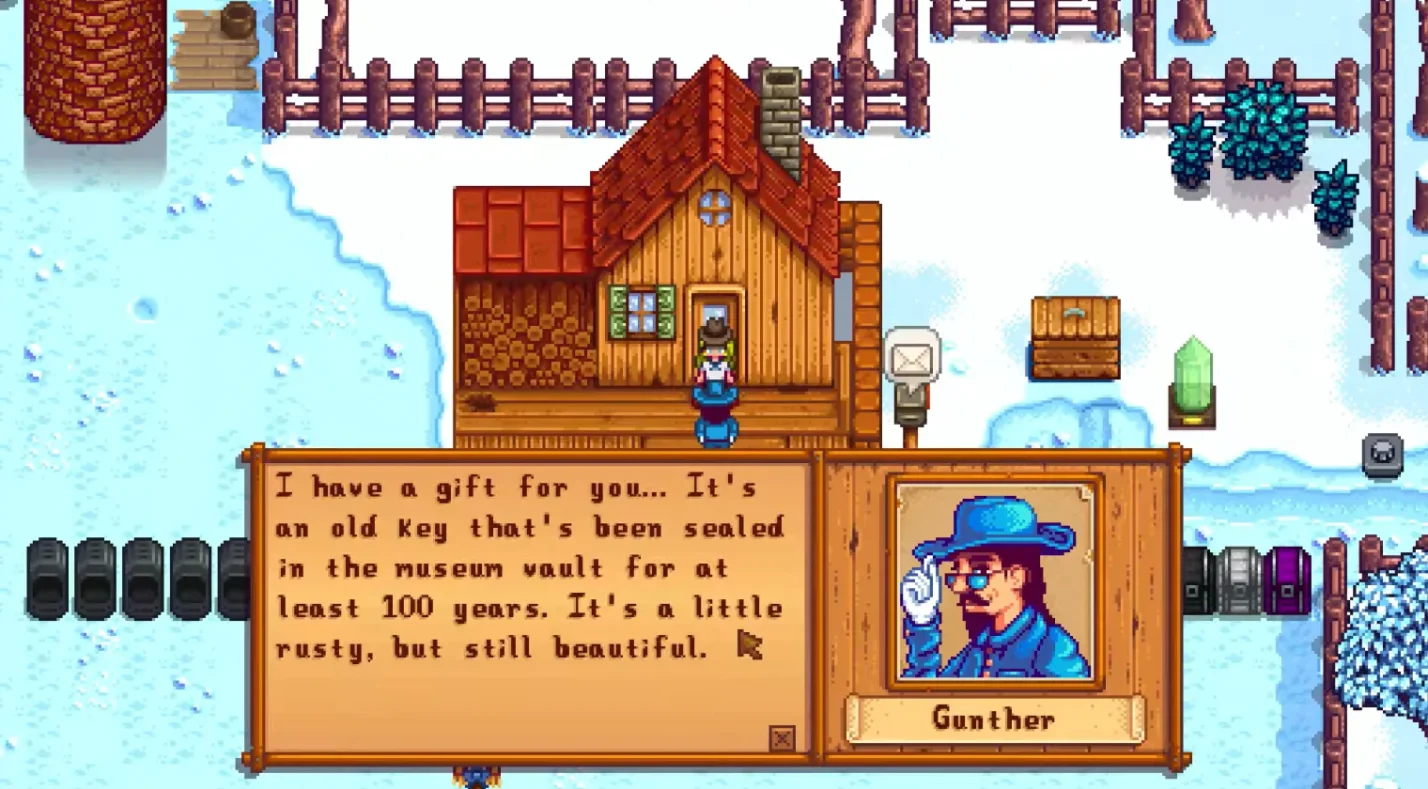
The sewer unlock hinges entirely on the Museum donation system. Gunther runs the Museum in Pelican Town, and he accepts two types of items: artifacts and minerals. Both categories count toward your total.
You need exactly 60 donations to receive the Rusty Key from Gunther. This key is the only way to access the sewer. No alternative methods exist.
The Museum tracks your progress silently. You won’t see a counter showing how many items you’ve donated. Gunther rewards you at specific milestones, but the game doesn’t announce when you’re close to 60. I started keeping a mental tally around donation 40, checking back with Gunther every few days once I thought I was getting close.
Each artifact or mineral counts once. Duplicates don’t advance your progress. If you donate a second Dwarf Scroll I, your counter stays the same. This means you need 60 unique items, not just 60 donations of any kind.
Museum Donation Milestones
| Donation Count | Reward | Benefit |
| 5 donations | 9 Cauliflower Seeds | Early spring farming boost |
| 10 donations | 30 Bean Starters | Solid profit in spring |
| 20 donations | Glittering Boulder Removal | Additional farm space |
| 40 donations | Dwarvish Translation Guide | Unlock Dwarf dialogue and shop |
| 60 donations | Rusty Key | Sewer access unlocked |
| 95 donations | Stardrop | Permanent max energy increase |
The Museum gives rewards at 5, 10, 20, 40, 60, and 95 donations. At 60, you get the Rusty Key automatically. Gunther hands it over the next time you talk to him after completing that 60th donation. Some players miss this moment entirely and only discover the key sitting in their inventory days later.
Collecting Artifacts: Your Primary Donation Source
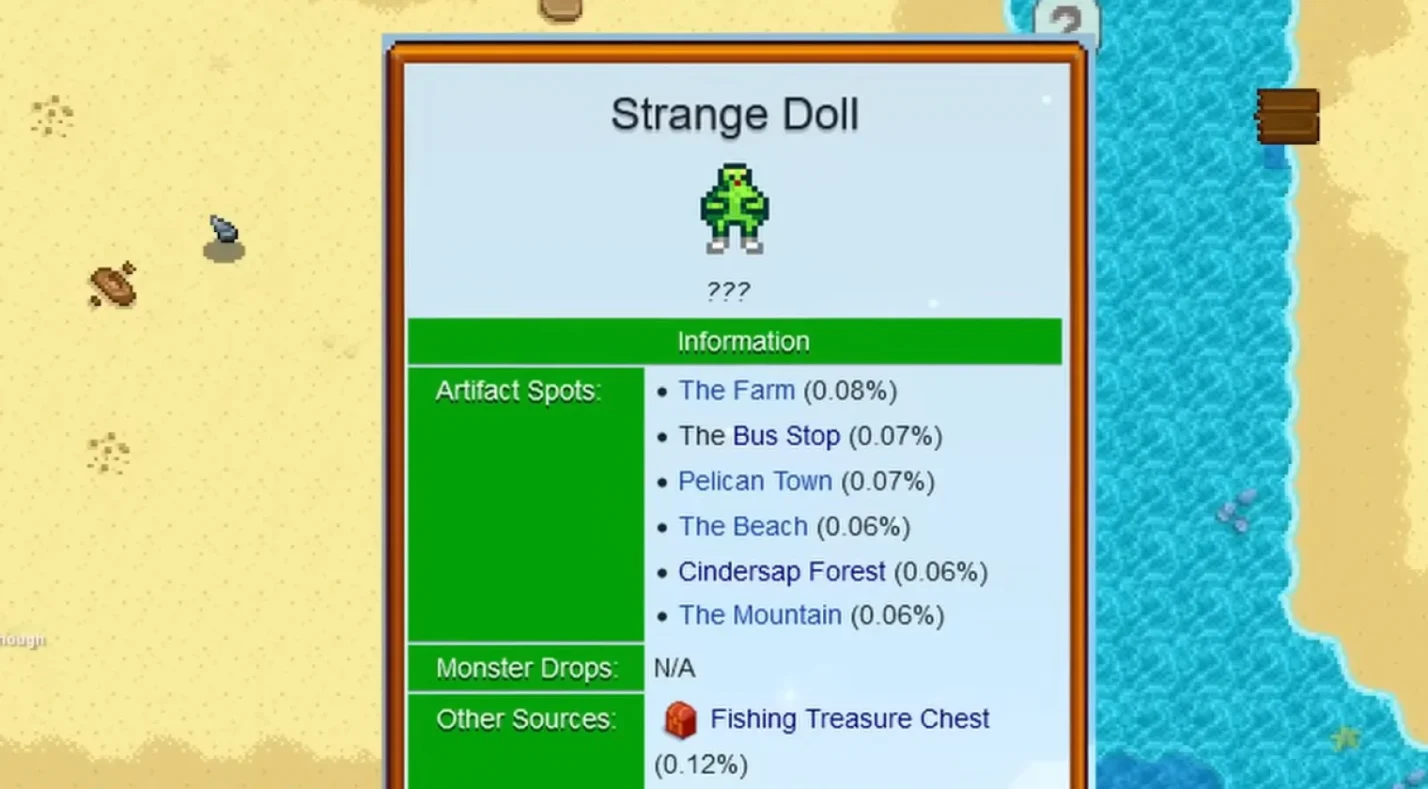
Artifacts make up the bulk of most players’ Museum donations. The game provides multiple ways to collect them throughout all four seasons.
Artifact Spots appear as small, worm-like disturbances in the soil. Hit them with your hoe to dig up artifacts. These spots spawn randomly across the entire valley. Mountains, forest, beach, town, and even your farm can produce Artifact Spots.
Winter has the highest Artifact Spot spawn rate. I make it a point to check every location daily during winter months. The beach, in particular, spawns unique artifacts like the Nautilus Fossil and Coral that you can’t find anywhere else.
Different map areas produce different artifacts. The mountains yield items like Dwarf Scrolls and strange dolls. The beach gives you nautical artifacts. The forest has its own set. This location variety means you need to explore the map and learn about artifact locations systematically, not just stick to one favorite spot.
Geodes provide another reliable artifact source. Break open Geodes, Frozen Geodes, Magma Geodes, and Omni Geodes at Clint’s blacksmith for 25 gold each. Many contain artifacts alongside minerals. I prioritize Frozen and Magma Geodes because they have better artifact drop rates than basic Geodes.
Fishing treasure chests offer a more passive collection method. When you catch a treasure chest during fishing, it sometimes contains artifacts. The chance increases as your fishing level rises. I’ve pulled rare artifacts from treasure chests while grinding fishing XP, making this a solid dual-purpose activity.
Monster drops provide a minor supplementary source. Some enemies in the Mines drop artifacts when defeated. This isn’t reliable enough to build a strategy around, but it adds up over time if you’re mining regularly for other reasons.
Finding Minerals: The Secondary Collection Path
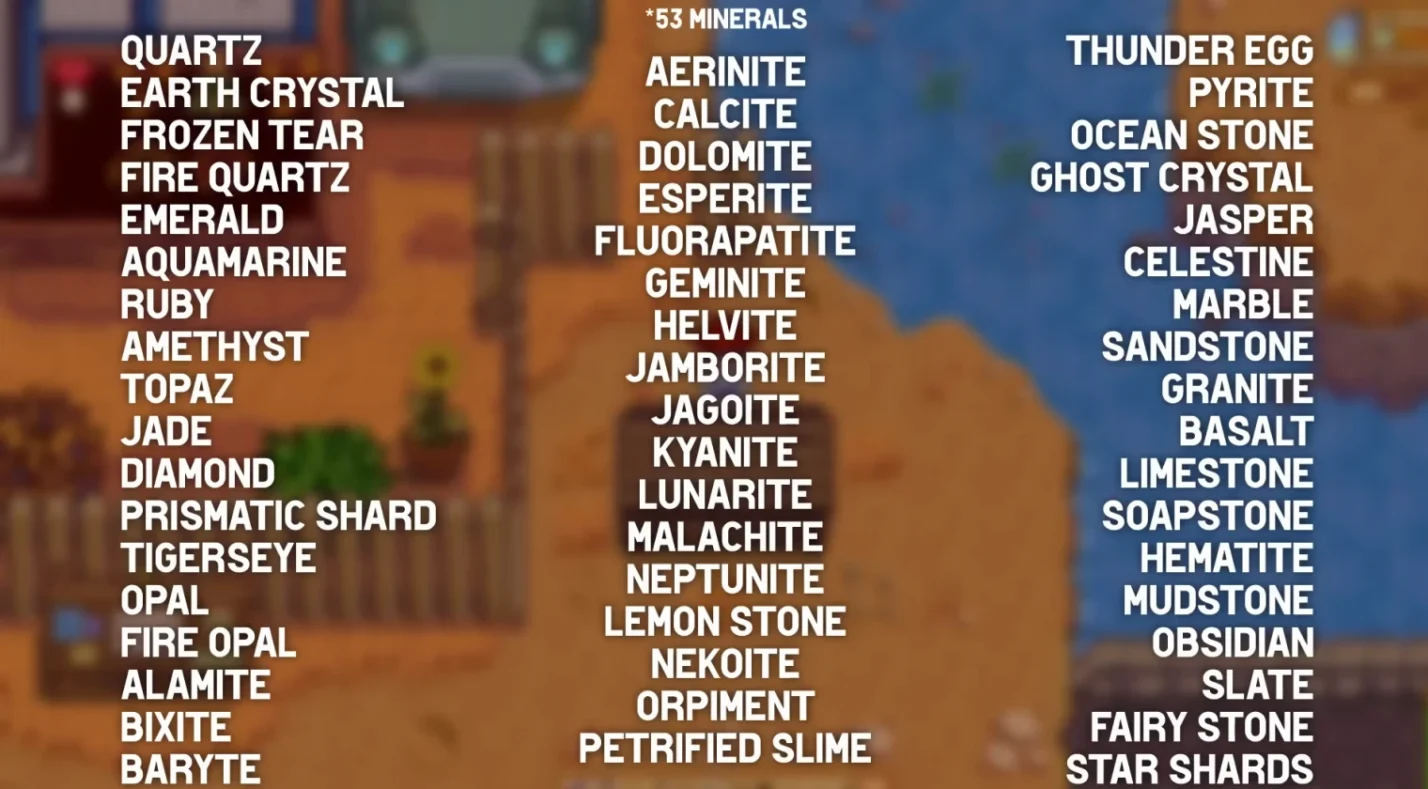
Minerals accelerate your Museum progress when artifact collection slows down. They’re more abundant and predictable than artifacts, which makes them excellent gap-fillers.
Mining produces the majority of minerals. Break mineral nodes in the Mines and Skull Cavern to collect them. Copper, Iron, Gold, and Iridium nodes all yield minerals you can donate. The deeper you go, the more variety you find.
I spent my second year focusing on deep mine runs specifically to gather mineral donations. A single trip to level 80-100 usually netted me 5-6 new minerals for Gunther. This consistent availability makes mining a reliable backup when Artifact Spots aren’t spawning.
Geode processing works for minerals too. The same geodes that yield artifacts also produce minerals. In fact, minerals drop more frequently than artifacts from geodes. This dual benefit makes geode cracking one of the most efficient donation strategies in the early game, similar to foraging and resource collection strategies you’d use for other farming goals.
Bone Nodes appear in deeper mine levels and Skull Cavern. They take longer to break than standard nodes but drop specialty minerals you can’t get elsewhere. These unique minerals add valuable variety to your donation collection.
Some monsters drop minerals when defeated. This passive collection happens naturally if you’re exploring the Mines for other objectives. The drops aren’t consistent enough to rely on, but they supplement your active mining efforts.
Step-by-Step Process to Unlock the Sewer
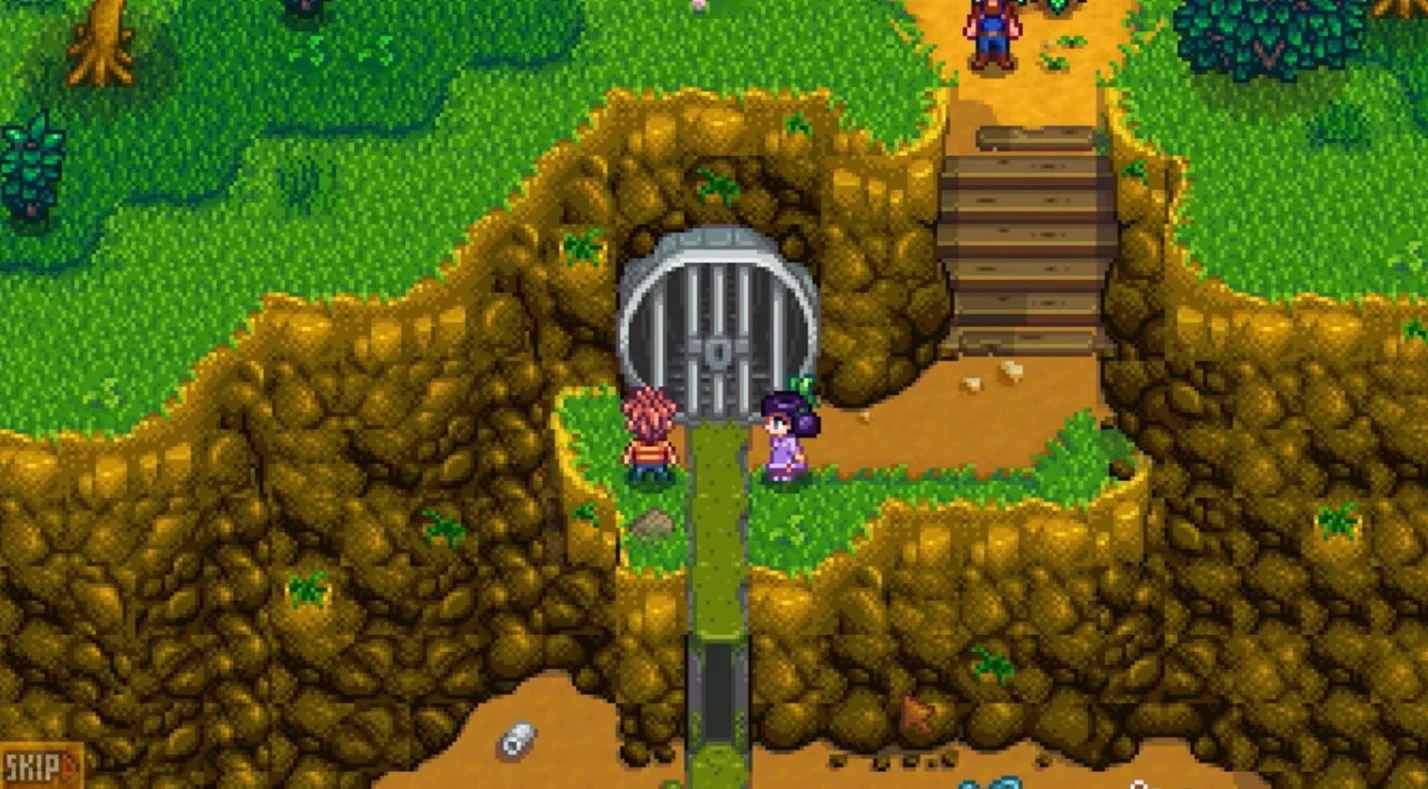
Getting sewer access follows a straightforward progression once you understand the system.
- Step 1: Collect Artifacts and Minerals Start by collecting artifacts and minerals through the methods I outlined above. Focus on Artifact Spots during winter, process geodes year-round, and mine consistently for minerals. Spread your efforts across different collection methods to maintain steady progress without burning out on any single activity.
- Step 2: Visit the Museum Bring your collected items to Gunther at the Museum in Pelican Town. The Museum sits on the eastern side of town, north of the blacksmith. Talk to Gunther and select the donation option. He’ll show you which items in your inventory are new to the Museum.
- Step 3: Donate Everything You Can Donate everything you can each visit. Don’t hold back items thinking you might need them later. The Museum rewards are more valuable than selling artifacts or minerals for gold. I learned this the hard way after selling three Ancient Seeds before realizing they counted as Museum donations.
- Step 4: Reach 60 Donations Continue collecting and donating until you reach 60 total items. This typically takes most of the first year if you’re actively pursuing it. Casual players might not reach 60 until year two or later.
- Step 5: Get the Rusty Key Once you complete your 60th donation, talk to Gunther again. He’ll give you the Rusty Key automatically. The key appears in your inventory as a quest item. You can’t lose it, sell it, or drop it.
- Step 6: Find the Sewer Entrance Head south from Pelican Town center, past Clint’s blacksmith. Keep going down and slightly right. You’ll find a metal grate in a small alcove. This is the sewer entrance.
- Step 7: Enter the Sewer Approach the grate with the Rusty Key in your inventory. The game automatically uses the key to unlock the entrance. Walk through to enter the sewer for the first time.
Where to Find the Sewer Entrance
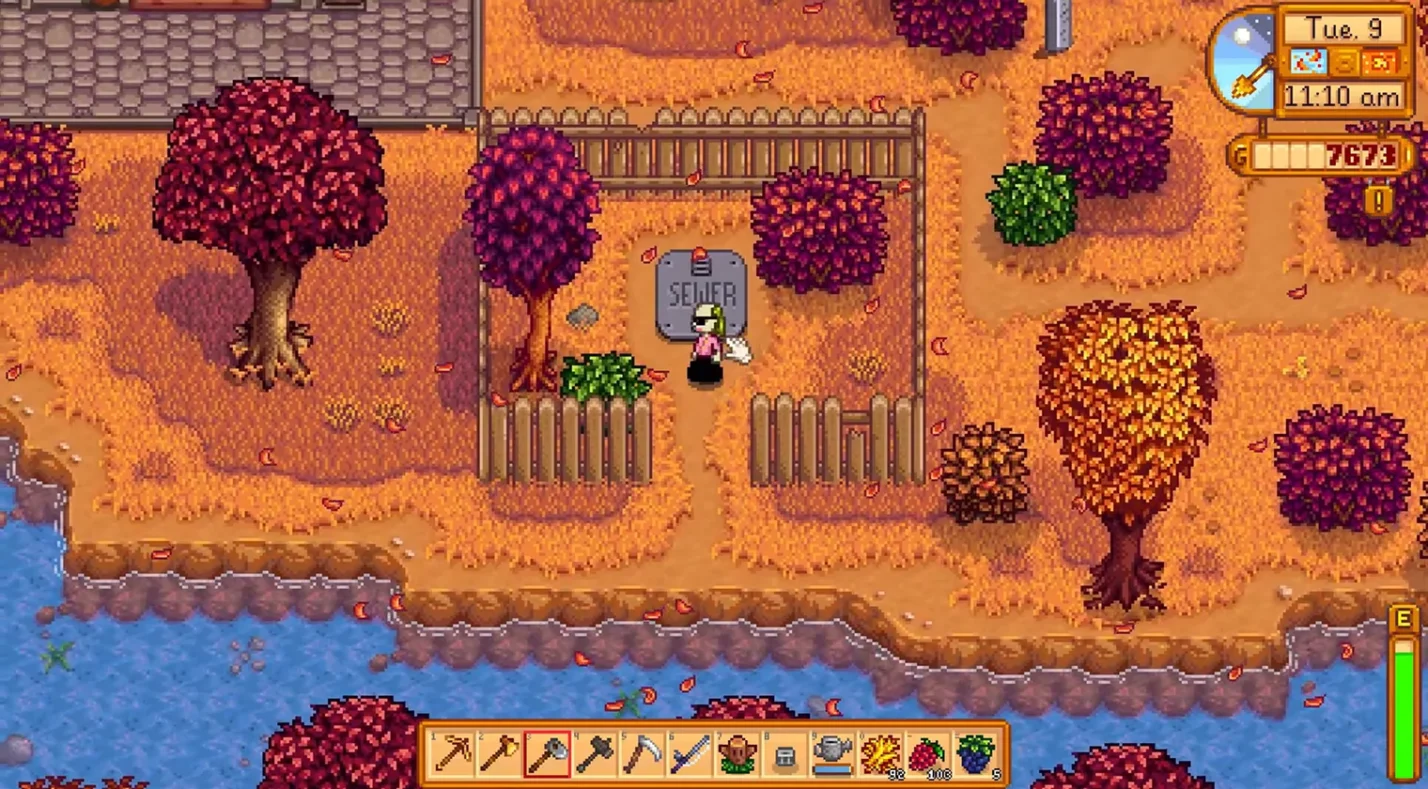
The sewer entrance location confuses many players because it sits in an area most people don’t naturally explore.
From the center of Pelican Town, walk south past the blacksmith. Continue downward until you reach a small alcove with a metal grate. The grate has a distinctive appearance with bars and a lock mechanism.
The entrance is southeast of Clint’s blacksmith and southwest of the Adventurer’s Guild. If you’re standing at Marnie’s ranch, head northeast and then south. The path leads directly to the grate.
I missed this location for months because I never had a reason to explore that corner of the map. Most daily activities keep you in the northern and central areas of town. The sewer entrance sits in a dead-end section with no other points of interest nearby.
Once you know where it is, the location becomes obvious. But first-time discovery often happens by accident while wandering around looking for something else entirely.
The entrance is accessible any time of day, any season, once you have the Rusty Key. No other conditions apply. You don’t need specific friendship levels, weather conditions, or time restrictions.
Meeting Krobus: Inside the Sewer
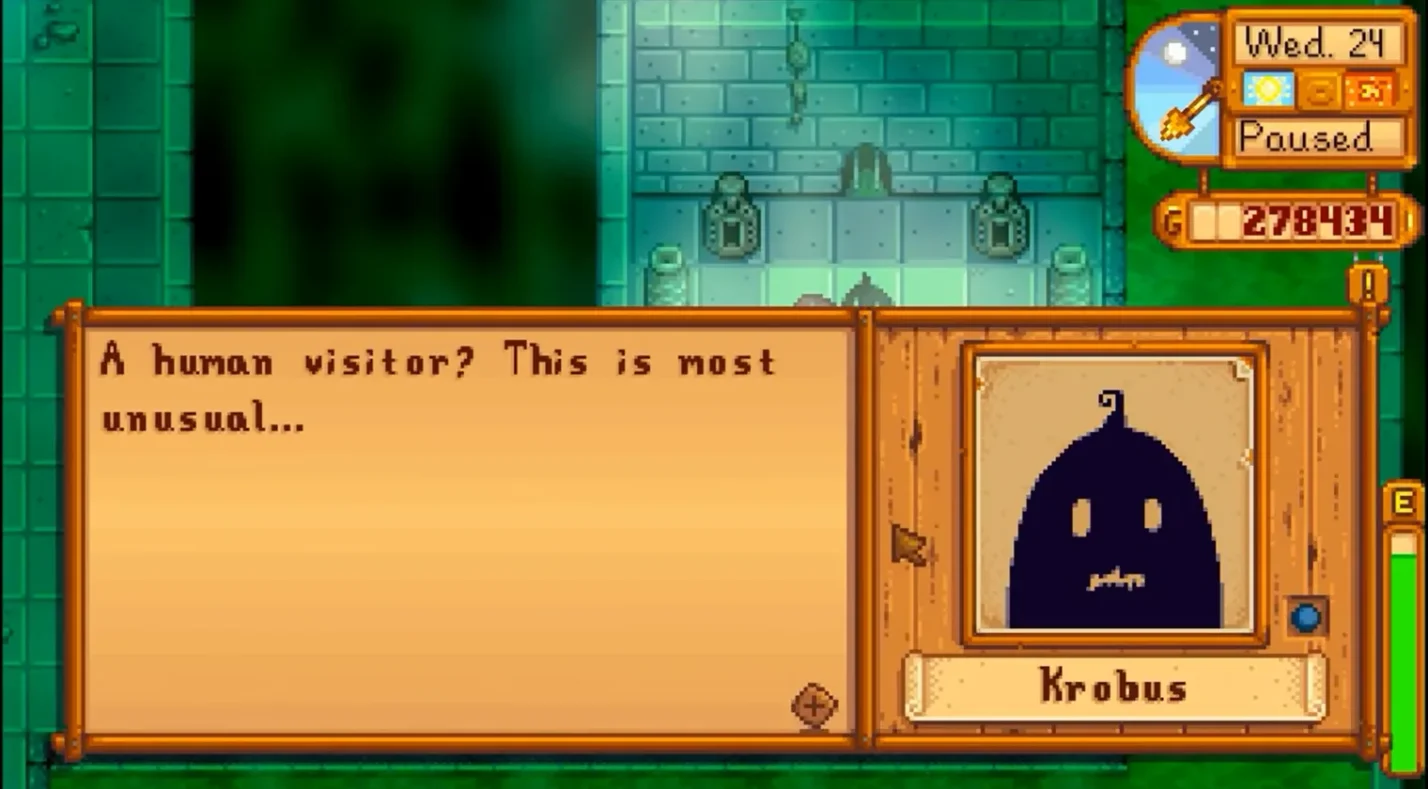
Walking into the sewer for the first time reveals Krobus standing in the main chamber. He’s a shadow person, a species most Pelican Town residents fear or misunderstand.
Krobus operates as a merchant, but he’s also a fully-developed NPC you can befriend. His dialogue reflects his isolated existence and his complicated relationship with surface dwellers. I found his character surprisingly deep compared to some of the more generic townspeople.
Krobus’s Weekly Shop Inventory
| Day | Item | Price | Use |
| Monday | Void Essence | 100g | Crafting material |
| Tuesday | Omni Geode | 300g | Contains minerals/artifacts |
| Wednesday | Void Egg | 5,000g | Raise void chickens |
| Thursday | Solar Essence | 80g | Crafting material |
| Friday | Life Elixir | 500g | Restore full health/energy |
| Saturday | Void Essence | 100g | Crafting material |
| Sunday | Solar Essence | 80g | Crafting material |
His shop inventory rotates by day of the week. Void Eggs appear on Wednesday for 5,000 gold. These eggs let you raise void chickens, which produce Void Mayonnaise. The mayonnaise sells for decent profit and has unique uses in certain recipes.
Krobus sells Void Essence and Solar Essence daily for 100 gold and 80 gold respectively. These crafting materials normally require grinding monsters in the Mines. Buying them from Krobus saves time if you need them for specific recipes or enchantments.
He also stocks Life Elixir for 500 gold, which restores full health and energy. This is expensive but useful for deep Skull Cavern runs where you can’t easily return to the surface.
On Tuesday, Krobus sells Omni Geodes for 300 gold each. These geodes can contain rare minerals and artifacts. I buy a few each week to supplement my Museum donations and mineral collection.
The Iridium Krobus statue costs 10,000 gold and can only be purchased once. It’s purely decorative but adds a unique aesthetic to your farm if you’re into collecting rare items.
Beyond shopping, you can build friendship with Krobus through gifts and regular interaction, similar to building deeper relationships with NPCs like Sebastian. His loved gifts include Void Eggs, Void Mayonnaise, and Wild Horseradish. Reaching high friendship unlocks additional dialogue and eventually the option to have him move in as a roommate instead of getting married.
The Mutant Bug Lair: Combat Content Beyond Krobus
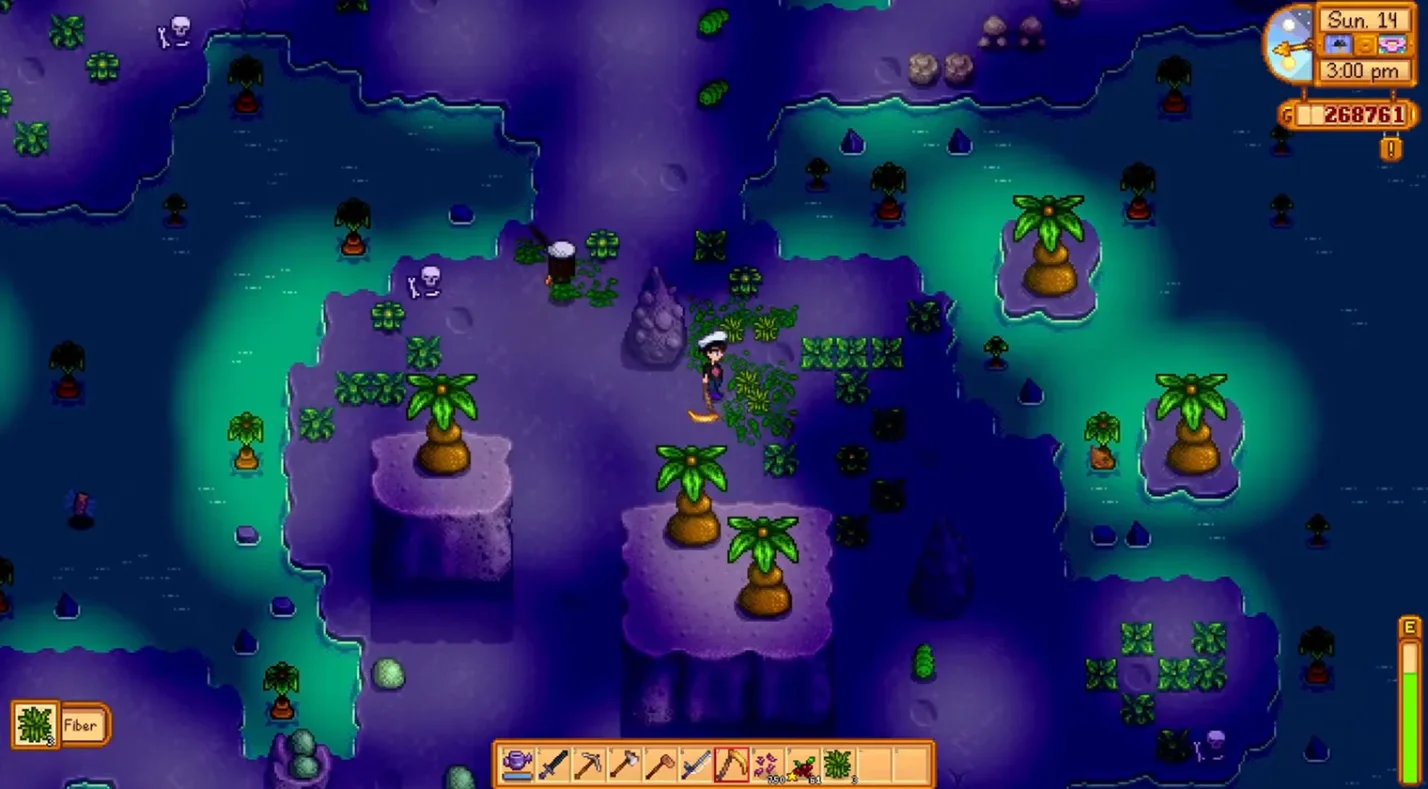
The sewer connects to the Mutant Bug Lair, a combat area with tougher enemies than the standard Mines.
The Lair entrance sits in the eastern section of the sewer. You’ll see a passage leading to a darker area filled with mutant bugs and grubs. These enemies hit harder than early-game mine creatures.
I recommend waiting until you have decent weapons and armor before exploring the Lair. The mutant bugs can overwhelm unprepared players quickly. I made the mistake of jumping in immediately after unlocking the sewer and got wrecked within minutes.
The enemies drop Void Mayonnaise, Void Essence, and other void-themed items. These drops have practical uses for crafting and cooking. The Void Mayonnaise in particular sells for good money if you’re not using it for recipes.
The Lair provides a mid-game combat challenge for players who enjoy fighting but have already cleared the main Mines. It’s not required for any progression systems, which makes it entirely optional content for combat-focused players.
Best Strategies for Faster Museum Completion
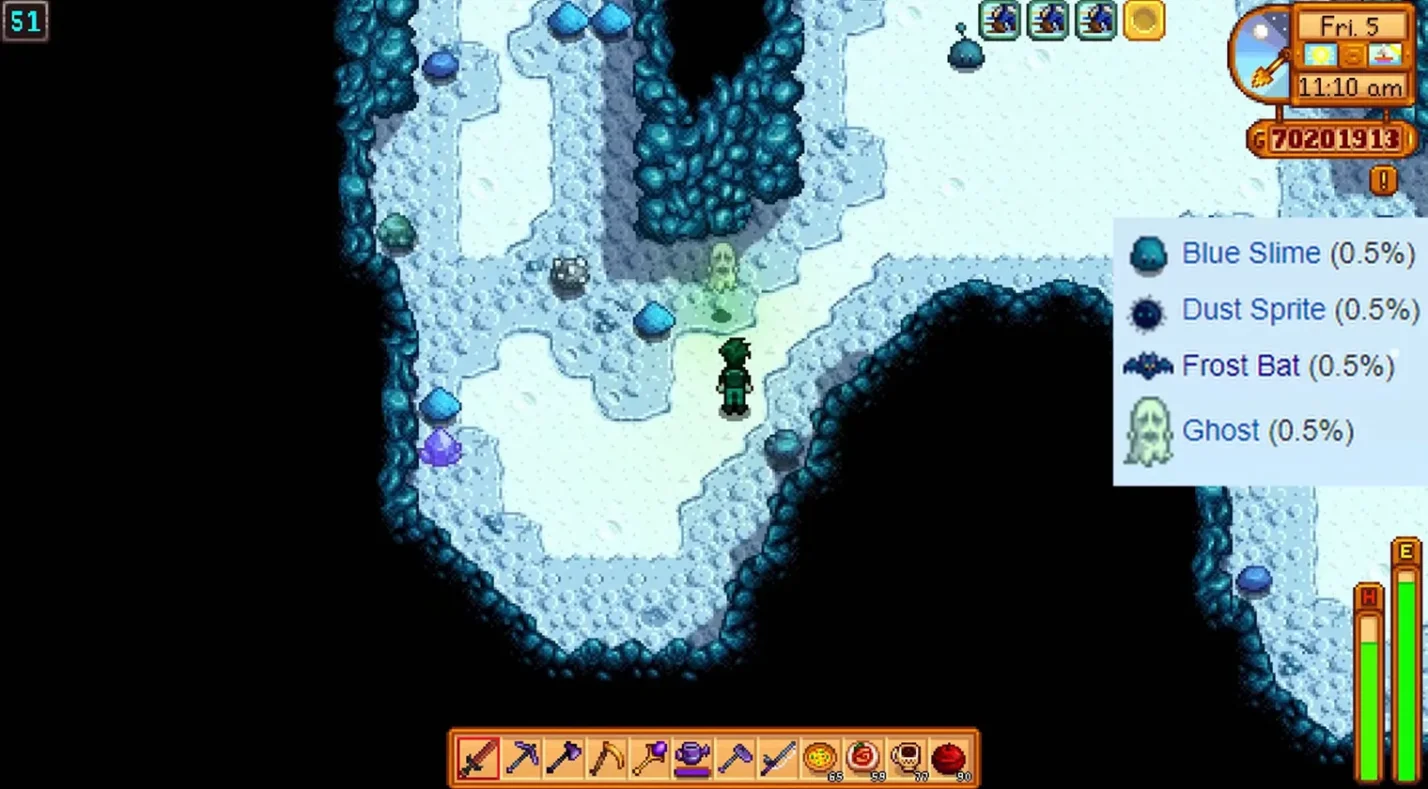
Reaching 60 donations quickly requires intentional planning rather than passive collection. Here’s what worked for me:
- Prioritize winter for Artifact Spot collection – The spawn rate increases dramatically during winter months. I dedicate the first 10 days of every winter to systematic Artifact Spot hunting across all map areas. This alone usually gives me 15-20 new artifacts per winter.
- Process every geode you find – Don’t let them pile up in chests. Take them to Clint immediately and crack them open. The 25 gold cost is negligible compared to the donation progress you gain. I’ve had geodes sitting in storage for entire seasons because I forgot about them, wasting potential Museum progress.
- Mine consistently for minerals – Dedicate at least one day per week to deep mine runs specifically for mineral collection. Focus on levels 40-80 in the standard Mines for good mineral variety without excessive combat difficulty.
- Fish regularly for treasure chests – Higher fishing levels increase treasure chest frequency. Even if you’re not actively trying to level fishing, casting a line while waiting for other activities to complete can passively generate artifact donations.
- Check every Artifact Spot you see – Regardless of what else you’re doing. I developed a habit of carrying my hoe everywhere during my first year. Whenever I spotted the telltale worm pattern, I’d dig it up immediately. This consistent attention added up to significant progress over time.
- Never sell artifacts or minerals before checking with Gunther – I made this mistake repeatedly in my first playthrough, selling items for quick cash that would have counted toward my donation total. Always verify the Museum first.
Common Mistakes That Delay Sewer Access
Most players make predictable errors that extend their Museum completion timeline unnecessarily.
Selling artifacts for gold is the biggest mistake. New players see artifacts as valuable sellable items rather than Museum donations. I sold my first Dwarf Scroll, Chipped Amphora, and Ancient Seed before understanding the Museum system. Each sale delayed my sewer access by days or weeks.
Ignoring Artifact Spots costs you massive progress. Many players walk right past them, thinking they’re decorative or unimportant. Training yourself to spot and dig up every Artifact Spot you encounter accelerates progress dramatically.
Attempting to donate duplicate items wastes collection effort. The Museum only counts unique items toward your total. If you’ve already donated a Dwarf Scroll I, finding another one doesn’t help. Focus on variety rather than quantity.
Neglecting geode processing leaves easy donations on the table. Geodes pile up quickly if you mine regularly. Each unprocessed geode represents potential Museum progress you’re missing. I had 40 geodes sitting in a chest at one point, representing weeks of wasted donation opportunities.
Forgetting to check progress with Gunther leads to missed milestones. The game doesn’t announce when you’re close to 60 donations. I thought I was at 55 when I was actually at 62, meaning I’d had the Rusty Key available for days without realizing it.
Seasonal Collection Optimization
Different seasons offer distinct advantages for artifact and mineral gathering.
Winter dominates for Artifact Spot collection. The spawn rate increases so dramatically that dedicated winter collection can provide 20-30 donations in a single season. I plan my Museum push around winter months specifically because of this advantage.
Spring and fall offer good artifact variety at Artifact Spots. These seasons produce diverse artifacts that fill gaps in your collection. The moderate spawn rate makes them solid secondary seasons for artifact hunting.
Summer has fewer Artifact Spots but compensates with excellent fishing conditions. If you’re pursuing the fishing-based collection method, summer provides ideal weather and longer daylight hours for extended fishing sessions.
Mining remains consistent year-round. Minerals don’t vary by season, which makes mine runs equally productive in any season. This consistency makes mining an excellent backup activity when surface collection slows down.
I structure my year around these seasonal strengths. Winter focuses on Artifact Spots. Spring and fall balance artifacts with other farming activities. Summer emphasizes fishing and mining. This rhythm prevents burnout while maintaining steady Museum progress.
Long-Term Sewer Engagement
Unlocking the sewer isn’t a one-time achievement. The location remains relevant throughout your entire playthrough.
Krobus’s shop provides ongoing value for specific items. Void Eggs, Solar Essence, and Void Essence all have long-term uses in crafting and farming. I visit the sewer weekly to check his inventory even in late-game saves.
Building friendship with Krobus opens narrative content. His dialogue expands as your relationship deepens, revealing more about shadow people and their history. Eventually, you can invite him to move in as a roommate, providing an alternative to traditional marriage.
The Mutant Bug Lair offers repeatable combat content. Players who enjoy fighting can return to the Lair whenever they want a combat challenge. The enemy drops remain useful throughout the game for crafting and selling.
The sewer connects to broader progression systems, much like how to unlock Ginger Island, which follows similar end-game progression mechanics. Understanding how Museum donations work helps with other collection-based achievements. The patience and systematic approach required for sewer access applies to many other Stardew Valley goals.
I still visit the sewer regularly in my year-five save file. Krobus’s inventory provides convenient access to items I’d otherwise need to farm. The location feels like a reward that keeps giving rather than a one-time unlock.
Your Path to Sewer Access
Unlocking how to unlock sewer Stardew Valley took me an entire in-game year during my first playthrough. I made every mistake possible. Sold artifacts, ignored Artifact Spots, forgot about geodes, and had no systematic collection strategy.
My second farm reached sewer access in spring of year one. The difference came from understanding the Museum system and planning my collection efforts around seasonal advantages. Winter Artifact Spots, consistent geode processing, and regular mining trips accelerated my progress dramatically.
The satisfaction of finally meeting Krobus and accessing his unique inventory made the effort worthwhile. Void Eggs for raising void chickens. Solar Essence without monster grinding. A whole new area to explore and integrate into my farming routine. For players exploring games like Stardew Valley on Switch, similar progression systems appear across the farming sim genre.
If you’re starting fresh or working toward sewer access on your current save, the strategies in this guide will get you there faster than trial and error. Focus on winter Artifact Spots, process every geode, mine for minerals weekly, and never sell artifacts before checking with Gunther.
These games reward exploration, patience, and systematic collection, making the lessons from Stardew Valley applicable to other cozy gaming experiences. Whether you’re starting your first farm or sharing the experience with friends, grab the Stardew Valley Steam key from our marketplace for immediate access to the complete farming experience, including all the hidden content like the sewer you’ve learned about in this guide.
FAQs
Do both artifacts and minerals count toward the 60 Museum donations needed to unlock the sewer?
Yes, both artifacts and minerals count toward the 60 Museum donations required to unlock the sewer in Stardew Valley. You can donate any combination of these two item types to reach the threshold, giving you flexibility in how you approach collection and allowing you to progress through whichever items you find most easily.
Can I lose the Rusty Key after Gunther gives it to me?
No, you cannot lose the Rusty Key after receiving it from Gunther because it functions as a permanent quest item that stays in your inventory. The key cannot be sold, dropped, or removed, and once you have it, the sewer entrance remains accessible forever without needing to carry the key specifically.
Will donating duplicate artifacts help me reach 60 donations faster?
No, donating duplicate artifacts will not help you reach 60 donations faster because the Museum only counts unique items toward your total. Each artifact or mineral can only be donated once, meaning you need to find 60 different items rather than repeatedly donating the same ones, making variety essential for efficient progress.
Is there a special cutscene when I unlock the sewer in Stardew Valley?
No, there is no special cutscene when you unlock the sewer because Gunther simply hands you the Rusty Key the next time you speak with him after completing your 60th donation. Some players receive a letter from Gunther the following day, but the key transfer itself happens without dramatic announcement or cinematic sequence.
Can I access the sewer in multiplayer if I personally haven’t donated 60 items?
Yes, you can access the sewer in multiplayer even if you personally haven’t donated 60 items because once any player on the farm unlocks it through donations, all players gain access regardless of individual contribution. However, each player must still build their own separate friendship relationship with Krobus through gifts and interaction.